
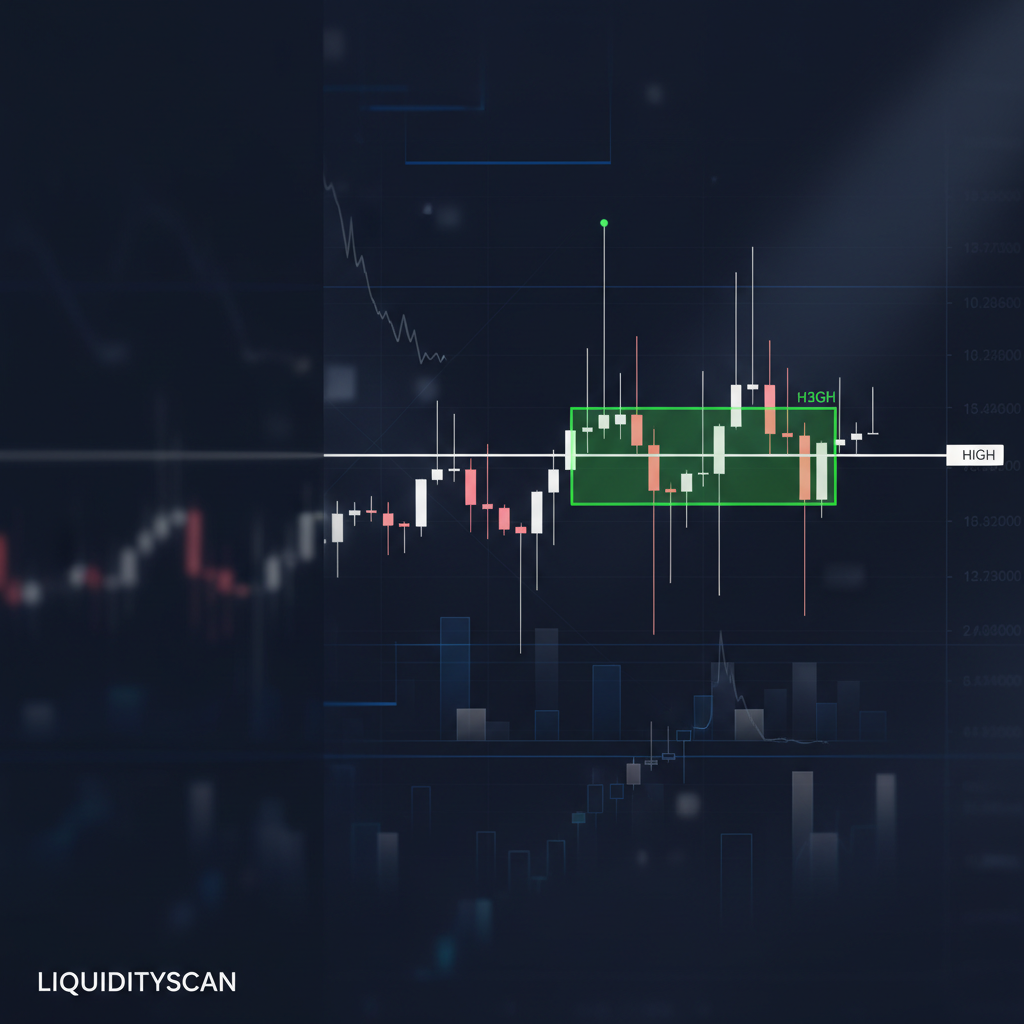
What Is a Rejection Block?
A rejection block is a price zone defined by the long wicks, or tails, of candles that sharply reject a swing high or low. Instead of using the candle body, you use the wicks that price refused to hold.
The core idea is simple. When several candles push into a level and get slapped back, they leave a cluster of long tails. That wick range becomes a zone where institutional intent showed up and price is likely to react again.
Ordinary support and resistance drawn from bodies often miss this. The rejection block instead honours the extreme of the move, which is where stops were run and where smart money left its fingerprint.
How a Rejection Block Forms
A rejection block almost always forms after a liquidity sweep. Price pushes past a prior swing high or low, triggers resting stop orders, then snaps back inside the range, leaving long wicks behind.
Those wicks are the visible record of a failed auction. Buyers or sellers tried to extend the move, found no follow-through, and got rejected. The tails mark exactly where that rejection happened.
To draw the zone, I take the cluster of long wicks at the extreme and box the range from the swing point to the open or close of the rejecting candles. That box is the rejection block, and it functions much like a spring in Wyckoff terms.
Bullish Rejection Block
A bullish rejection block forms at a swing low. Price sweeps below support, runs sell-side liquidity, then rejects upward, leaving long lower wicks. Those tails become a demand zone you can buy from on a return.
Bearish Rejection Block
A bearish rejection block forms at a swing high. Price sweeps above resistance, runs buy-side liquidity, then rejects downward, leaving long upper wicks. That wick range becomes a supply zone you can sell into.
How to Trade a Rejection Block
Wait for the sweep and the sharp rejection to complete before doing anything. Marking a zone mid-candle invites you to guess, and guessing is how good ideas turn into bad fills.
Entry comes on mitigation, when price returns to tap the wick zone. I look for a lower-timeframe shift in the same direction as the rejection to confirm that the zone is holding rather than failing.
Your stop belongs just beyond the wick extreme. That is the price the market has already rejected, so a clean break through it tells you the setup is invalid. Target the opposing liquidity pool, such as the swing that started the move or an untouched high or low.
On a platform like LiquidityScan I map the sweep and the rejection together, because a wick zone without a preceding liquidity run is far less reliable. According to Investopedia, a long-wick or pin bar candle signals a strong intrabar reversal, which is exactly the fingerprint a rejection block captures.
Rejection Block vs Order Block
The key difference is wick versus body. An order block is drawn from the body of the last opposing candle before an impulsive move, while a rejection block is drawn from the long wicks that rejected an extreme.
They often sit near each other, and the strongest trades happen when a wick-based rejection block overlaps a body-based order block. Treat the order block as the deeper zone and the rejection block as the reaction at the extreme.
Frequently Asked Questions
Is a rejection block the same as a wick?
Not quite. A single wick is one candle. A rejection block is the zone drawn from a cluster of long wicks that reject a swing after a liquidity sweep, so it carries more context than one tail.
What timeframe works best for rejection blocks?
They appear on every timeframe, but higher timeframes such as the 1H, 4H, and daily produce cleaner, more reliable zones. Use a lower timeframe only to refine your entry once the higher-timeframe zone is marked.
How is a rejection block confirmed?
The preceding liquidity sweep is the main confirmation. A rejection block that forms without running stops first is weaker, so I want the wick cluster to sit right where liquidity was taken.
Related query paths
To place rejection blocks inside the wider Smart Money toolkit, follow these next.
- What Is an Order Block — the related body-based zone to compare against the wick.
- Order Blocks SMC Framework — order blocks in depth for context around the rejection block.
- Order Block Validation Rule — the rules that decide when a zone is valid.
- Liquidity Sweep Explained — the stop hunt that precedes every rejection block.
- Is ICT trading legit? Separating method from hype — Assess the method’s evidence and limitations before applying rejection-block setups.
- liquidity sweep OTE setup — Learn how liquidity runs retrace into OTE for higher-probability ICT reversals.