
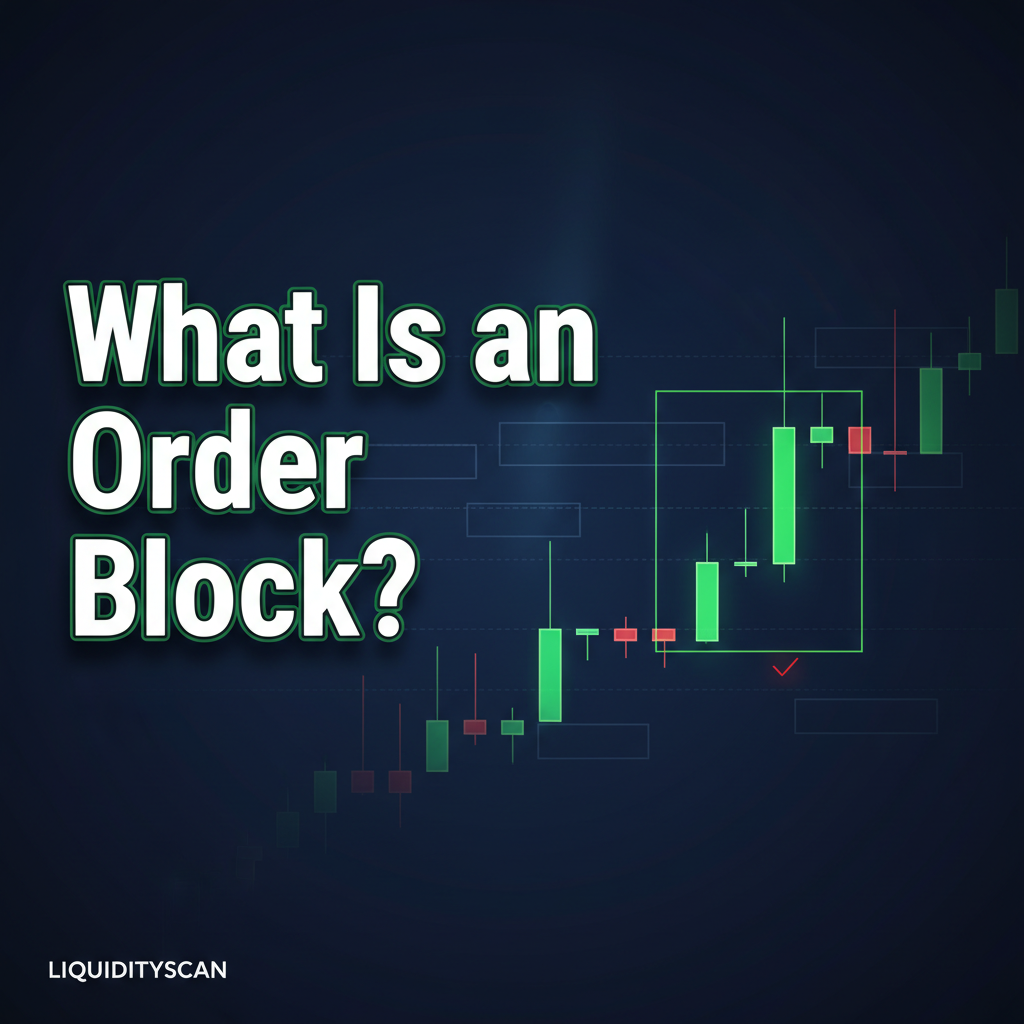
An order block is the specific candle where institutional buy or sell programs are initiated. It's not just any opposing candle; it’s the one that precedes a market-moving displacement.
In Smart Money Concepts (SMC), an order block is the last footprint institutions leave while they accumulate or distribute before price shifts hard in one direction. A bullish order block is the final down-close candle before an aggressive up-move. A bearish order block is the final up-close candle before an aggressive down-move. The catch: that move has to be violent enough to tear open a fair value gap (FVG).
Key Points
- Definition: The last opposing candle (down-candle for bullish, up-candle for bearish) before a price move characterized by displacement.
- Validation: A true order block is always followed by a Fair Value Gap (FVG), also known as an imbalance. Without an FVG, it is not a high-probability order block.
- Function: It marks a price level where large institutions have shown their hand. Price will often seek to return to this level to mitigate leftover orders, offering a potential entry point.
- Context is King: The highest probability order blocks are those that first engineer liquidity, for example, by executing a liquidity sweep of a prior high or low.
How to Identify a Valid Order Block
Finding a valid order block takes more than circling the last opposing candle. The context around it, and what price does next, are what give it meaning. I've watched plenty of traders burn through capital shorting every last down-close candle before an up-move, then wonder why nothing holds. The FVG is the filter, and it isn't optional. If you want the full ruleset, we break it down in our guide to the core order block validation rule.
Here’s the sequence on a chart:
- Locate Displacement: First, find a strong, energetic move in price. This isn't one or two average candles; it's a series of candles that rapidly move price from one level to another, showing a clear willingness to push directionally. This indicates a change in the state of delivery.
- Confirm the Fair Value Gap (FVG): Look within the displacement move. Is there a three-candle sequence where the wicks of the first and third candles do not overlap? That gap is the FVG. Its presence confirms the institutional force behind the move.
- Identify the Candle: Now, look immediately prior to the start of this displacement. The last candle moving in the opposite direction is your order block. For a bullish move, it's the final down-candle. For a bearish move, it's the final up-candle.
Take a real one on GBP/JPY during the London kill zone. Price runs the Asian session high and grabs the buy-side liquidity resting above it. Then it dumps, leaving a clean 15-minute FVG on the way down. The last up-candle before that sell-off kicked in is the bearish order block. From that point on, that level is a high-probability spot to watch for a short if price ever climbs back into it.
The Mechanics: Why Order Blocks Form
Order blocks aren't random shapes on a chart. They're the byproduct of a problem big institutions have to solve. A desk can't drop a market order for billions of dollars of EUR/USD and expect a clean fill; it would slip the price badly and trade against its own entry.
So they build the position in stages, and the order block candle is usually the final, aggressive leg of that work. Often it means pushing price to one edge of a range to trip the stops retail traders leave behind. A liquidity sweep like that frees up enough resting orders for the desk to fill its size, and that fuel is exactly what powers the displacement that follows. That's where the word "block" comes from: it echoes the "block trades" reported by exchanges like the CME Group, privately negotiated transactions of a large quantity of assets. None of this is theory, either; the institutional mechanics behind these moves are baked into how the market actually clears size.
When price comes back to the order block later, it's usually there to rebalance the position or mop up any orders still parked at that price before pressing on in the original direction. That retest is the trade. If you want to time the re-entry tighter, the same logic drives a clean FVG entry off the gap inside the block.
Order Blocks vs. Breaker Blocks and Mitigation Blocks
It's easy to confuse order blocks with similar concepts like breaker blocks and mitigation blocks. The distinction lies in what happens to the level *before* it is revisited.
- Order Block: A standard order block is a level that has not been violated. Price leaves the level and is expected to respect it upon its return.
- Breaker Block: A breaker block is a *failed* order block. Imagine a bullish order block that forms, but instead of price respecting it on a retest, price smashes right through it. That now-violated bullish order block becomes a bearish breaker block, acting as resistance.
- Mitigation Block: This is similar to a breaker, but it forms when a swing high or low fails to take out a higher high or lower low. When price breaks through this failed swing point, the last opposing candle becomes a mitigation block. The key difference is that a breaker block must first run liquidity before failing.
These distinctions matter more than they look. All three are points of interest, but each one behaves differently once price returns, and treating a breaker like a fresh order block is a fast way to get faded. We pull the two apart in detail in mitigation block vs breaker block, and it's worth reading if you trade reactions off broken levels. Tracking all of this by hand across dozens of instruments is its own job, which is why the LiquidityScan scanner is built to flag these patterns automatically, including our proprietary CISD (Change in State of Delivery) engine that validates the displacement an order block needs before it counts.