
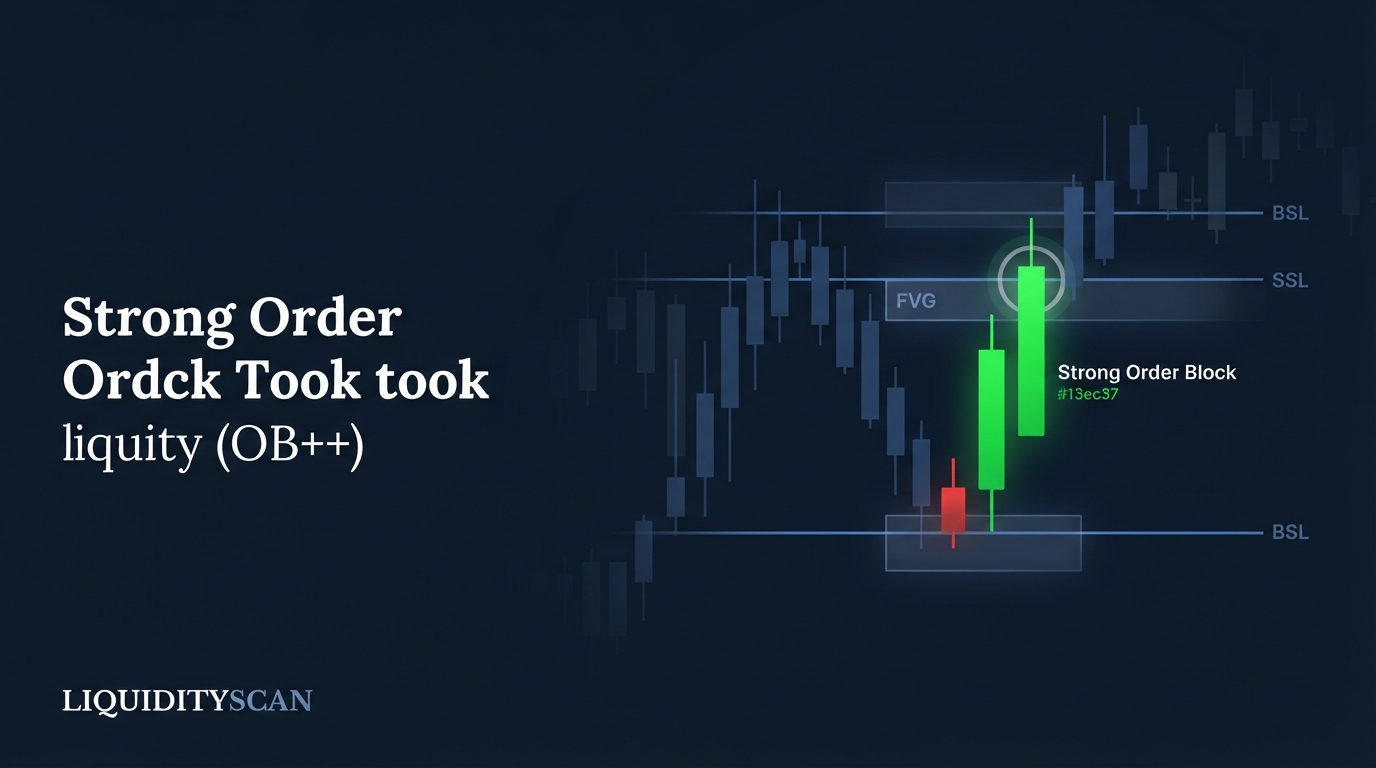
What Is a Strong Order Block Scanner?
A strong order block scanner finds order blocks and then grades them, keeping only the ones that took liquidity. Rather than flagging every opposite-close candle, it surfaces the last candle before an impulse that swept a prior swing high or low.
That grading step is the whole point. An ordinary Order Block is just the last down-close candle before an up-move (bullish) or the last up-close candle before a down-move (bearish). On any liquid chart there are dozens of those per day, and most lead nowhere.
A strong order block scanner adds two objective filters — did the move take liquidity, and did it displace — so what reaches your screen is already pre-qualified.
Why "Strong" Matters: Most Order Blocks Are Noise
The uncomfortable truth about order block trading is that the pattern is common and the edge is not. If you mark every last-opposite candle, you get a chart littered with zones, and price will react at some of them for reasons that have nothing to do with institutional intent. Marking more zones does not make you more accurate; it makes you less selective.
What separates a meaningful order block from a decorative one is purpose. A zone matters when the impulse leaving it did work — it ran a pool of stops resting above a prior high or below a prior low, and it did so with force.
Those are the candles where resting orders were actually filled, which is the mechanical reason an unmitigated zone can act as support or resistance on the return.
So a scanner that grades by liquidity and displacement is not adding decoration. It throws away the majority of order blocks that never took anything, and keeps the ones with a documented reason to exist.
That filtering is where a strong order block scanner earns its place in a workflow — it does the discarding you would otherwise do by eye, across hundreds of pairs, every hour.
OB+ vs OB++: How the Grading Works
LiquidityScan's OB+/OB++ engine builds every zone from the same base — the last opposite-close candle before an impulse — then applies two escalating tests to decide whether it deserves a grade at all, and which one.
OB+ (Strong): the impulse took liquidity
A base order block is promoted to OB+ when the impulse out of it breaks a prior swing. For a bullish zone, the impulse must take buy-side liquidity (BSL) — it trades through a prior swing high. For a bearish zone, it must take sell-side liquidity (SSL) — through a prior swing low.
Crucially, the level only needs to be taken by a wick; no body close beyond the swing is required. A sweep is a sweep whether or not the candle closes past the level, because the stops above the high got filled either way.
OB++ (Super Strong): liquidity plus displacement
An OB+ becomes OB++ when the same impulse also shows real displacement — a move of at least 1.5× ATR(14). This is the difference between price drifting through a high and price ripping through it. A violent displacement candle is the fingerprint of aggressive, one-sided delivery.
The FVG badge
When the impulse moves fast enough to leave a three-candle imbalance behind it, the scanner attaches an FVG badge to the zone. A Fair Value Gap (FVG) printed on the leg out of an order block is a well-known confluence.
The gap and the block often frame the same reaction area, and the badge tells you at a glance that both are present without you having to hunt for it.
Why Liquidity Taken and Displacement Are the Right Filters
These two filters are not arbitrary — each maps to a distinct piece of the mechanism.
- Liquidity taken tells you the move had a reason. Stops cluster above equal highs and below equal lows because that is where retail protective orders and breakout entries pile up. An impulse that runs those pools is transacting against real resting orders. A zone born from that transaction has a claim to being a genuine point of interest; a zone born from a quiet candle that swept nothing does not.
- Displacement tells you who was in control. A 1.5× ATR expansion candle is not indecision — it is a lopsided imbalance between buyers and sellers. That is the Displacement footprint ICT traders look for to confirm institutional intent. Requiring it filters out the slow, choppy "order blocks" that form inside consolidation and rarely hold.
Put together, OB+ answers "did this zone do anything?" and OB++ answers "did it do it with force?" A pair that satisfies both is, by construction, one of the small minority of order blocks worth watching.
That is the entire logic of grading, and it is why a strong order block scanner is more useful than a raw one: the grade is a compression of two judgments you would otherwise make manually.
Fresh, Unmitigated Only — and the Pre-Arrival Alert
Grading is half the story. Timing is the other half.
The scanner only surfaces zones that are fresh and unmitigated — price has not yet returned to tap them. This matters because an order block's expected reaction is a first-touch phenomenon. The first time price revisits the zone, the unfilled orders that anchor it are still there.
After price has traded through it once, that inventory is largely consumed, and the second and third touches are statistically weaker. Showing you a zone that has already been mitigated would be showing you a spent one. (For a deeper look at why the first return behaves differently, the Unmitigated vs Mitigated distinction is worth studying on its own.)
Because the value is in the first retest, the alert is built around approach, not fill. A roughly five-minute proximity loop tracks each fresh zone through three states: formed → approaching → touched. You get pinged as price closes in on the zone — not a candle after it already tapped and reversed.
That lead time is the difference between watching the reaction set up and reading about it in hindsight. You arrive at the chart while the trade is still in front of you, with the HTF context still checkable.
A Naive OB Scanner vs OB+/OB++ Grading
The table makes the difference concrete. A generic scanner that flags every order block and a graded engine are not the same tool doing the same job at different quality — they answer different questions.
| Dimension | Naive OB scanner | OB+/OB++ grading |
|---|---|---|
| What it flags | Every last-opposite candle before a move | Only zones whose impulse took BSL/SSL |
| Liquidity check | None — proximity to a move is enough | Required: impulse must sweep a prior swing (by wick) |
| Displacement check | None | OB++ requires displacement ≥ 1.5× ATR(14) |
| Grade | Flat — all zones look equal | OB+ (Strong) / OB++ (Super Strong), + FVG badge |
| Freshness | Often shows already-tapped zones | Fresh, unmitigated only |
| Alert timing | Usually after the tap, if at all | Pre-arrival: formed → approaching → touched |
| Result on screen | Dozens of zones to hand-filter | A short list already pre-qualified |
The naive column is not wrong, it is just noisy — it hands you the raw material and leaves the judgment to you. The graded column performs that judgment mechanically and consistently across every pair, which is exactly what you cannot do by eye at scale.
The Workflow: From Scan to Execution
A graded zone is a starting point, not a finished trade. Here is how the scanner fits a top-down process.
Step 1 — Let the scanner surface the fresh OB+/OB++
The engine runs across 1h, 4h, 1d, and 1w on closed candles only, so nothing repaints. You do not go hunting; the qualified zones come to you, tagged OB+ or OB++ with an FVG badge where relevant.
Step 2 — Take the proximity alert as price approaches
When price nears a fresh zone, the proximity loop moves it to approaching and pings you. This is your cue to open the chart with time to think, not to react.
Step 3 — Check HTF draw and premium/discount
Before you act, confirm the zone agrees with context. Is there a clear Draw on Liquidity — an obvious pool price is being pulled toward — that your zone sits with, not against? Is a bullish OB+ sitting in discount (below the dealing-range equilibrium) rather than in premium? A strong zone pointing the wrong way relative to the higher-timeframe draw is a pass.
Step 4 — Execute and manage on your own terms
The scanner does not hand you an entry, stop, or target. You choose your entry inside the zone, place your stop by your own rules (commonly beyond the zone or the sweep wick), and define targets against the next liquidity pool. The tool got you to a qualified zone at the right moment; the trade is yours to build.
Worked example
Say BTCUSDT is trading in a broad range. On the 4h, price grinds up, then a single expansion candle rips through a prior swing high that had equal highs resting above it — taking BSL by wick — and moves roughly 1.7× ATR(14), leaving a gap behind. The last down-close candle before that impulse is marked as an OB++ with an FVG badge.
Nothing else happens for six hours, so the zone stays fresh. Price then rotates back down toward it. As it enters the proximity band, the scanner flips the zone to approaching and alerts you.
You open the chart, confirm the 1d draw is still higher and the zone sits in discount, and you work your entry on the first tap — the retest the alert was built to catch.
Honest Limits: What It Does and Doesn't Do
Be clear about the boundaries, because overstating them is how tools get misused.
- It surfaces a zone, not a trade. There is no entry/stop/target ladder and no signal to buy or sell. OB+/OB++ is a graded point of interest; the execution and risk are entirely on you.
- There is no win rate. The scanner does not compute or publish accuracy, and neither should you infer one. Grading improves selectivity — it does not promise outcomes, and any zone can fail.
- Context still decides. A perfect OB++ against the higher-timeframe draw, or in the wrong half of the range, is a low-quality trade regardless of its grade. The scanner filters the zone; you filter the situation.
- Closed-candle, no-repaint — with the tradeoff. Detection waits for candles to close, so zones are stable and never repaint, but you will not see one form mid-candle. That is a deliberate choice in favor of reliability over immediacy.
Used within those limits, a strong order block scanner does one thing extremely well: it turns the endless field of order blocks into a short, graded, fresh list and pings you before price arrives — leaving you to do the judgment a tool cannot, which is deciding whether this particular OB+ or OB++ deserves your risk right now.
Frequently Asked Questions
What makes an order block "strong" instead of ordinary?
Strength comes from what the impulse leaving the zone did. An ordinary order block is just the last opposite candle before a move. A strong one — OB+ — requires that move to take liquidity by sweeping a prior swing high or low. OB++ adds a displacement filter of at least 1.5× ATR(14), confirming the move happened with force.
Does the impulse need to close beyond the swing to count as taking liquidity?
No. The level only needs to be taken by a wick. Stops resting above a high or below a low are filled the moment price trades through them, regardless of where the candle closes. Requiring a body close would miss genuine sweeps, so the OB+/OB++ engine counts a wick through the swing as valid.
Why only fresh, unmitigated order blocks?
An order block's expected reaction is a first-touch event. The first time price returns, the unfilled orders anchoring the zone are still present. Once price trades through it, that inventory is largely consumed and later touches are weaker. Showing already-tapped zones would surface spent ones, so the scanner keeps only fresh, unmitigated zones.
When does the alert fire — before or after price hits the zone?
Before. A roughly five-minute proximity loop tracks each fresh zone through formed → approaching → touched, and it pings you during the approach as price closes in. The point is lead time: you get to the chart while the retest is still setting up, not a candle after it already tapped and moved.
Related query paths
Work outward from the order block itself to the mechanics that make a strong one, then to scanning and refinement.
- What Is an Order Block? — start with the base pattern the scanner grades.
- How to Identify an Order Block — mark zones by hand before you let a tool do it.
- Displacement in ICT: Reading Institutional Intent — the exact filter that turns OB+ into OB++.
- Unmitigated Order Block vs Mitigated — why the scanner only shows fresh zones.
- Order Block Scanner: Real-Time OB & FVG — the generic scanning workflow this grading sits on top of.
- Order Block Refinement: HTF Zone to Entry — turn a graded zone into a precise entry.
- How to Catch Asian-Range Sweeps Every Session — a related angle on asian range sweep scanner.
- order block detection win rate — Validate whether OB+ and OB++ detections hold up with meaningful data.