
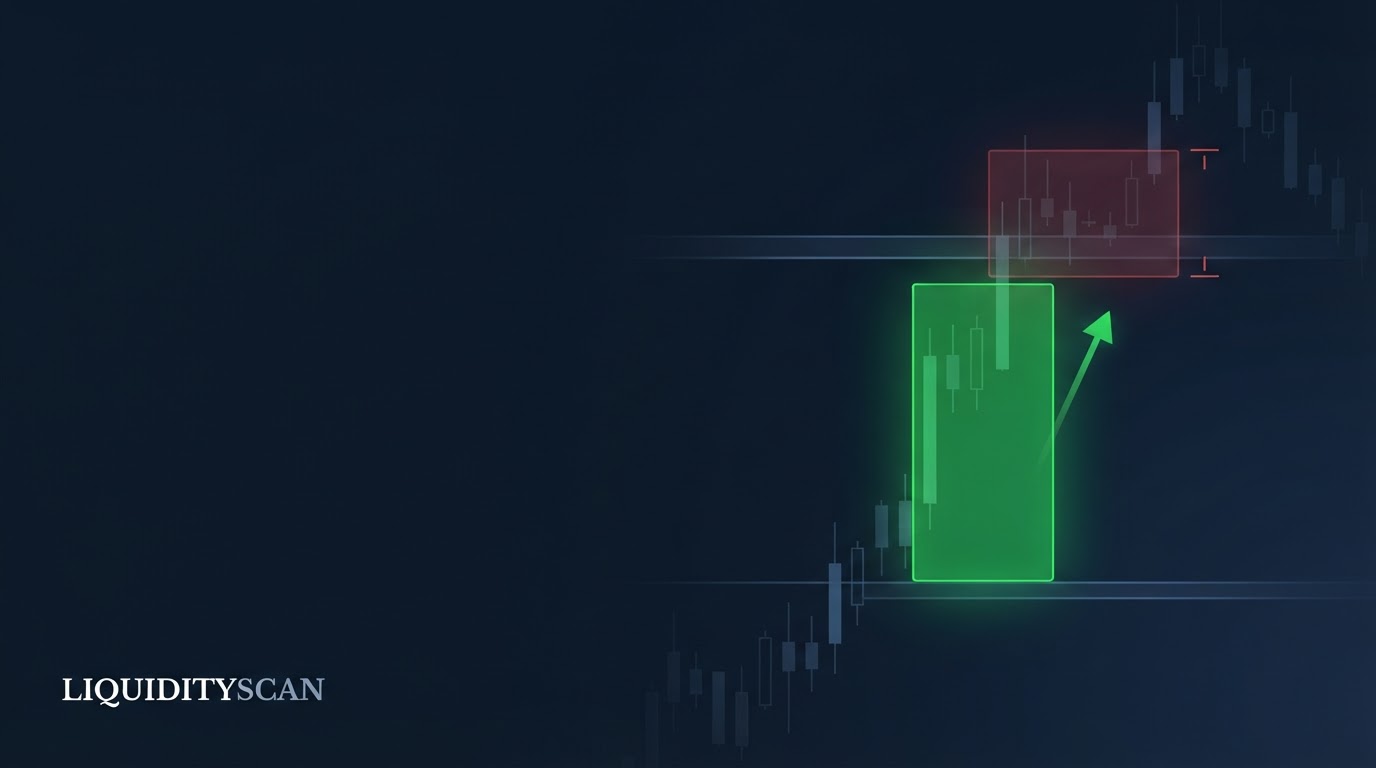
What Is an Unmitigated Order Block?
An unmitigated order block is an order block that price has never traded back into since it formed. Because no retest has occurred, the resting institutional interest that created the zone is presumed intact — which is why unmitigated blocks produce the strongest first-touch reactions.
Quick recap of the parent concept: an Order Block is the last opposite candle (or small cluster) before a Displacement leg — an aggressive move that breaks structure and usually leaves a Fair Value Gap (FVG) behind. The theory is that this candle marks where large participants accumulated a position, and that unfilled remainder orders rest there waiting for price to return.
A mitigated order block is the opposite state: price has already traded back into the zone at least once since formation. Some — possibly all — of the resting orders have been filled or pulled. The zone still exists on your chart, but the reason you drew it in the first place has been partially or fully consumed.
The distinction is binary at the definition level but graded in practice. A single one-tick wick touch and five full-range revisits are both technically "mitigation," yet they leave very different amounts of the zone intact. That gradient is where most of the practical edge lives, and we cover it below.
Why Mitigation Matters: Every Touch Consumes Orders
The mechanism is order-book arithmetic, not chart mysticism. If a desk has resting bids across a zone, the first return fills some of them. Whatever reaction you saw on touch one was produced by liquidity that no longer exists on touch two. Each revisit spends the zone down further, like drawing from a finite account.
This is the same freshness logic supply-and-demand traders have used for decades: a fresh zone outperforms a tested zone because testing is consumption. ICT vocabulary renames the objects, but the microstructure claim is identical — resting passive interest gets eaten by each interaction, and nothing obligates anyone to reload it at the same price.
There is a second, subtler mechanism: information decay. An order block from four hours ago reflects positioning decisions made under four-hour-old conditions. The longer a zone sits and the more times it gets tested without launching a move, the weaker the evidence that anyone still defends it. Consumption and staleness compound against re-tested zones.
The First-Touch Principle
The first return to an unmitigated order block carries the highest reaction odds of any touch that zone will ever see. All presumed resting orders are still there, traders watching the level have not been burned by a prior failure, and the zone often coincides with an unfilled FVG from the same displacement — stacked passive interest plus stacked attention.
Practically, this means first touch is the only touch you should treat as an A-grade signal by default. Second touches need additional justification: a fresh Break of Structure (BOS) re-anchoring the zone, a new displacement through it, or higher-timeframe confluence. Third touches and beyond are usually the market grinding through a spent level before breaking it.
Unmitigated vs Mitigated Order Blocks: Side-by-Side
The table below summarizes how each state changes your read of the zone and the trade built on it.
| Attribute | Unmitigated order block | Mitigated order block |
|---|---|---|
| Definition | Price has never returned to the zone since formation | Price has traded back into the zone at least once |
| Presumed order state | Resting institutional interest intact | Orders partially or fully filled / pulled |
| Reaction odds | Highest the zone will ever offer (first touch) | Reduced; degrades with each additional touch |
| Default trade grade | A-setup candidate on its own merits | Needs re-validation (new BOS, HTF confluence) or a role change |
| Entry style | Limit at zone edge or 50% level acceptable | Confirmation-only: wait for LTF reaction before committing |
| Stop placement | Beyond zone extreme plus buffer | Wider, or beyond the structure that re-validated it |
| Best use | Primary entry zone in trend continuation or post-sweep reversal | Breaker / mitigation-block reversal after full trade-through |
| Typical failure | Zone in wrong HTF context (deep premium buy, etc.) | Re-trading a consumed level that breaks on the next test |
Degrees of Mitigation: From Wick Tap to Invalidation
"Mitigated" is not one state. Grade every touched zone by how deep price penetrated and how it left, because each degree implies a different amount of surviving interest.
Wick tap (shallow mitigation)
Price wicks into the outer 10–25% of the zone and rejects hard. Only the front edge of resting orders was consumed; the core — especially the 50% level and the origin — remains untested. These zones are still tradable, often with better entries than the original, because the untouched deeper portion now defines your level. Treat a wick-tapped block as roughly 80% alive.
50% mitigation (the mean threshold)
Price reached the midpoint of the block — the same logic as Consequent Encroachment on an FVG — and reacted. Half the zone is spent. A second entry is only justified at the deep untouched half, with stops beyond the origin, and only if structure still supports the direction. Expect a weaker, slower reaction than the first touch produced.
Full fill
Price traversed the entire zone, wicked beyond or reached the origin, then closed back on the correct side. The zone is spent as a fresh-orders play. Any further trade here is a bet on defense of the level, not on unfilled inventory — demand proof (a lower-timeframe Change of Character (CHoCH) and displacement away) before touching it.
Body close-through: invalidation, not mitigation
A candle body closing decisively through the far side of the block, on the formation timeframe, is invalidation. The presumed position was either never there or has been overrun and is now trapped underwater. Do not "give it one more chance." Instead, flip your read: a violated bullish block becomes a candidate bearish Breaker Block on the return.
Do Mitigated Order Blocks Still Work?
Honest answer: sometimes — but almost never in their original role. A mitigated order block rarely pays as a fresh-inventory entry, because the inventory argument is gone. It pays in two specific second-life scenarios where the zone's meaning changes rather than merely persists.
Second life #1: the breaker / mitigation-block flip
When price fully trades through a block, the participants who built it are trapped. On the return to the zone, their exit flow (selling to escape a failed long, or covering a failed short) supplies the opposite side. The violated bullish block becomes resistance; the violated bearish block becomes support.
This is the breaker and Mitigation Block family. The distinction: a breaker's original move swept a prior high or low before failing, while a mitigation block forms from a failure swing that never took that liquidity. Either way, the zone "works" again — in the opposite direction, powered by pain instead of intent.
Second life #2: HTF context refreshes the zone
A block tapped on the 15m can still sit inside an untouched 4H order block or discount array. When a new HTF displacement launches from that broader zone, the area is effectively re-validated — the old LTF block becomes the fine-grained address inside a re-armed HTF zone. The trade is really the HTF zone; the mitigated block just times it.
On evidence: published community backtests on order block retests generally show first-touch reactions outperforming later touches by a meaningful margin, with the gap widening in trending regimes and narrowing in ranges. Figures vary hugely with how "reaction" and "zone" are defined, so treat any precise win-rate you read as illustrative.
Verify on your own market: log 50 first touches and 50 second touches of otherwise-identical blocks and compare follow-through at 1R and 2R. The direction of the result is robust; the magnitude is yours to measure.
How to Track Mitigation Status Across Timeframes
Mitigation is timeframe-relative, and this catches many traders. A 4H bullish order block spans, say, 64,200–64,800 on BTCUSDT. A 15m rally-base-rally inside it at 64,500–64,650 gets tapped on Tuesday. The 15m block is mitigated; the 4H block — judged by 4H candles at the zone's own boundaries — may still be completely untouched if price only entered its upper fringe.
A clean tracking routine:
- Anchor every block to its formation timeframe. Mitigation status is evaluated against that timeframe's zone boundaries, using wicks (a wick into the zone counts as a touch — orders don't care whether the candle closed there).
- Record the deepest penetration so far — none / edge / 50% / full — not just "touched or not." The degree drives the trade plan.
- Re-check after every structural event. A new BOS through the zone changes its status; a body close-through retires it or converts it to a breaker candidate.
- Map nesting explicitly. Note which LTF blocks live inside which HTF zones, so a "mitigated" 15m label doesn't blind you to a live 4H opportunity at the same price.
Doing this by hand across dozens of pairs is where most traders quietly give up; LiquidityScan's order block scanner tracks freshness and first-touch status per timeframe automatically, which is exactly the bookkeeping this framework requires.
Entries, Stops, and a Worked BTCUSDT Example
Adjusting the trade per status
- Unmitigated, first touch: limit entry at the zone's proximal edge or its 50% level; stop beyond the zone extreme plus a volatility buffer (e.g., 0.3–0.5× ATR). Full planned size is defensible.
- Wick-tapped: move the entry to the untouched deeper half; same stop logic; consider 75% size.
- 50%-mitigated: confirmation entry only — wait for an LTF CHoCH inside the zone; stop beyond the origin; half size.
- Fully filled: no inventory trade. Either stand aside or trade the confirmed defense with the stop beyond the violation extreme.
- Closed through: flip. Trade the breaker on the return, stop beyond the old zone's far side.
Worked sequence
BTCUSDT, 1H. Price sweeps sell-side at 63,900, then displaces up through structure to 65,400, breaking a prior high at 64,900 — a valid BOS. The last down candle before displacement spans 64,150–64,450: a bullish order block, unmitigated, sitting in the discount half of the new dealing range.
Touch one: two days later price retraces to 64,430, wicks to 64,290 (just through the 50% at 64,300), and closes back above. Long from 64,400, stop 64,050 (below the zone plus buffer), first target the 65,400 high — roughly 2.8R. This is the textbook first-touch trade, and it runs to 65,600.
Touch two: a week later price returns and grinds into 64,200 — an 83% fill. The zone holds by a few ticks and bounces 200 points, then gets revisited within hours and breaks: a 1H body closes at 63,980, a decisive close-through.
Anyone re-buying "the same great zone" a third time is now trapped. The correct final play: the 64,150–64,450 area is a candidate bearish breaker, and the return to it two sessions later offers the short.
Common mistakes
- Re-trading a consumed block at full size — treating touch three like touch one because the rectangle still looks the same. The rectangle is the same; the orders are not.
- Counting only candle closes as mitigation. Wicks consume orders. A zone wicked to its origin is spent regardless of where the candle closed.
- Ignoring timeframe of reference — abandoning a live 4H zone because a 15m block inside it was tapped, or vice versa.
- Refusing the polarity flip. A closed-through block is information, not a loss to avenge; the breaker trade is often better than the original.
- Trading freshness without context. An unmitigated order block in deep premium against HTF flow is still a bad long. Freshness ranks zones; it does not replace bias.
Bottom line: an unmitigated order block on first touch is the premium setup — full presumed inventory, full attention, best stop-to-target geometry. Once mitigation begins, downgrade and demand confirmation, or wait for the zone to fail and trade its second life as a breaker. Do not trade every touch of the same rectangle as if the orders were never spent.
Frequently Asked Questions
How do I know if an order block has been mitigated?
Check price action after the block formed on its own timeframe: if any candle — wick included — has traded back into the zone's boundaries, it is mitigated. Chart platforms with object anchoring, or an automated scanner, make this reliable; eyeballing historical wicks across multiple pairs is where manual tracking usually fails.
Does a wick count as mitigating an order block?
Yes. Resting orders are filled by traded prices, not candle closes, so a wick into the zone consumes orders exactly as a body would. The practical nuance is depth: a shallow wick tap leaves the core of the zone intact, so many traders treat it as partial mitigation and still trade the deeper untouched portion.
What happens after an order block is fully mitigated?
Its role as a fresh-inventory entry ends. Three outcomes follow: price breaks it on a later test (most common), it holds again only because larger participants actively defend the area, or price closes through it and the zone flips into a breaker or mitigation block, offering a trade in the opposite direction.
Is an unmitigated order block the same as a fresh supply and demand zone?
Functionally, yes — both describe a zone price has not revisited, and both rest on the same consumption logic: each test fills resting orders and weakens the level. The frameworks differ in how zones are selected (order blocks require displacement and a structure break), but the freshness principle is shared and predates ICT terminology.
Related query paths
Where to go next, in the order the concepts build on each other:
- What Is an Order Block? — the parent definition this whole comparison rests on.
- The Core Order Block Validation Rule for SMC Traders — how to filter which blocks are worth tracking before mitigation even matters.
- Breaker Block Explained: The ICT Reversal Entry — the full playbook for trading a violated block's second life.
- Mitigation Block vs Breaker Block: The One Difference That Matters — disambiguating the two failed-block reversal patterns.
- Best Timeframe for Order Block Trading (ICT Guide) — choosing the formation timeframe that anchors your mitigation tracking.
- Do Order Blocks Still Work? A Data-Driven Framework for 2026 — the evidence-based view on whether the whole concept retains edge.
- How to Scan for Order Blocks and FVGs Automatically in Real Time — how it connects to order block scanner.
- How to Refine an Order Block: From HTF Zone to Sniper Entry — a closely related next step.