
FVG vs Order Block: What Is the Difference?
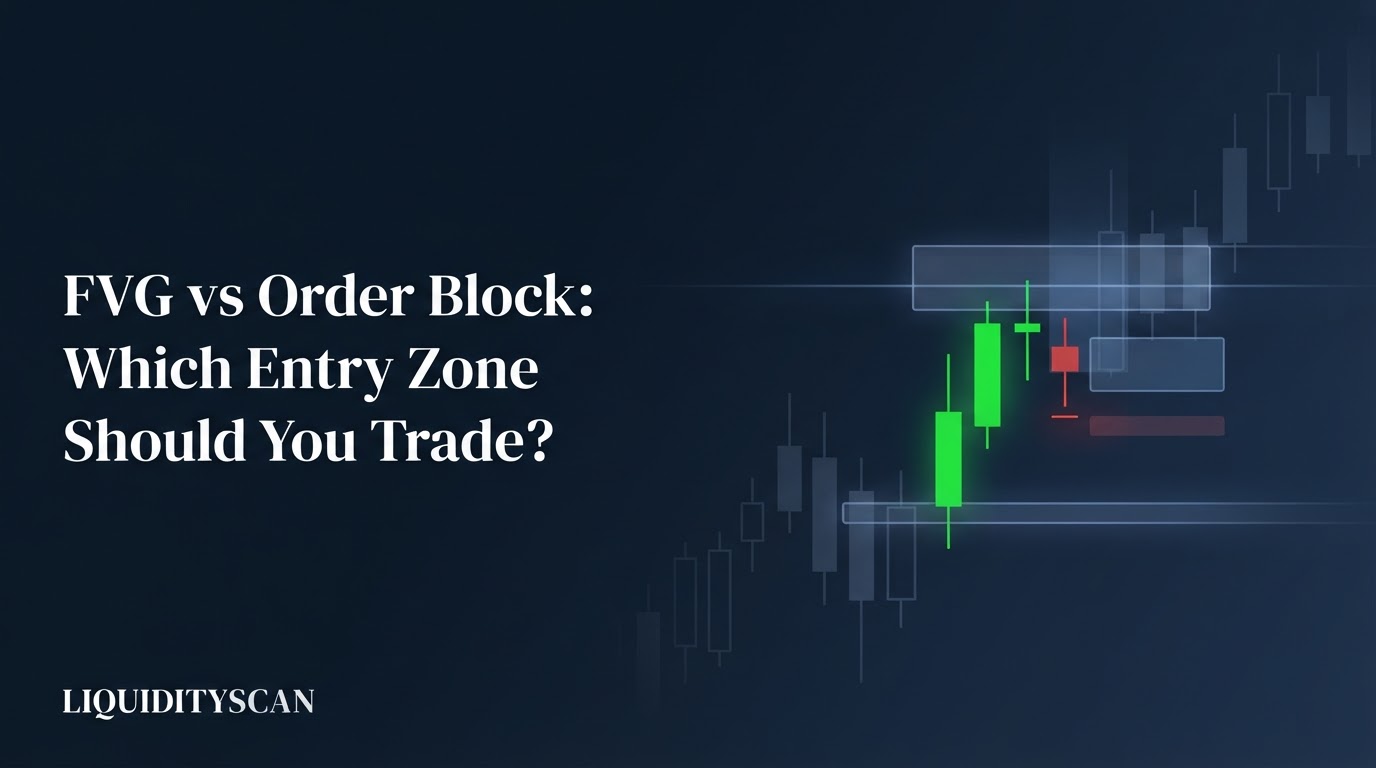
An Order Block is the last opposing candle before an impulsive move. A Fair Value Gap (FVG) is the three-candle imbalance that move leaves behind. The OB marks where positions were built; the FVG marks inefficient delivery. Both act as retracement entry zones.
The two zones are not competitors so much as two footprints of the same event. When institutional orders enter a market, they produce displacement — a fast, body-heavy expansion that breaks structure. The origin of that expansion is the order block. The interior of it, where price moved too fast for two-sided trade to occur, is the fair value gap.
The practical difference shows up at entry time. Because the FVG sits inside the impulse leg, price reaches it first on any retracement. The OB sits at the origin, so it offers a deeper, better-priced entry that gets tagged less often. Choosing between them is really a decision about expected retracement depth, market context, and how much confirmation you demand before committing risk.
How Each Zone Forms: Mechanics Side by Side
How a fair value gap forms
An FVG is a three-candle sequence. In a bullish case, the gap is the space between candle one's high and candle three's low, created when candle two expands so aggressively that no trading overlaps the two neighbors. ICT calls the bullish version a buy-side imbalance, sell-side inefficiency (BISI); the bearish mirror is SIBI.
The gap exists because delivery was one-sided: buyers lifted offers through an entire price band without meaningful sell-side participation. Since algorithmic delivery seeks efficiency, price tends to revisit that band later to rebalance — which is exactly what makes the gap tradeable.
How an order block forms
A bullish OB is the last down-close candle (or cluster) immediately before the displacement leg. The logic: institutions accumulate longs into that final wave of selling, often engineering a liquidity sweep of sell-side stops to source counterparties. When price returns to the candle's range, the same participants defend their entries.
Refinement matters for order blocks in a way it does not for gaps. On higher timeframes, many traders trim the zone to the candle body, or to the last small opposing candle inside a cluster, because the full wick-to-wick range of a 4H OB can span more than an intraday trader's entire risk budget. An FVG needs no such surgery — its boundaries are defined mechanically by the two neighboring candles.
Critically, a single displacement leg usually produces both zones at once. On a bullish impulse you will frequently mark the OB at the base and one or more FVGs stacked inside the leg above it. That is why the debate exists: the same move offers two different prices to buy.
FVG vs Order Block: The Comparison Table
Here is the full attribute-by-attribute comparison. Note how nearly every row reduces to one trade-off: the FVG trades sooner with a tighter stop, while the order block trades deeper with a harder invalidation.
| Attribute | Fair Value Gap (FVG) | Order Block (OB) |
|---|---|---|
| What it is | Three-candle imbalance inside the displacement leg | Last opposing candle at the origin of the leg |
| Position in the move | Inside the impulse — closer to current price | At the base — deeper from current price |
| Primary entry level | Consequent Encroachment (50% of the gap) | OB open price or mean threshold (50% of the candle) |
| Stop placement | Just beyond the far edge of the gap | Beyond the OB candle's extreme (low/high) |
| Hard invalidation | Full candle close through the gap (inversion) | Candle close beyond the OB extreme |
| Tap frequency | High — reached on shallow pullbacks | Lower — requires a deep retracement |
| Best context | Trend continuation, LTF execution | Reversals, HTF swing anchors |
| Resolution speed | Fast — reacts or inverts within a few candles | Slower — deeper structure must resolve first |
| Risk profile | Tighter stop, worse entry price | Wider stop, better entry price |
Validation: Displacement, Freshness, and First Touch
Neither zone means anything on its own. Charts are covered in down candles and small gaps; the validation filters are what separate an institutional footprint from noise, and they apply to both zones almost identically.
- Displacement quality. The leg leaving the zone must be body-driven and outsized — a useful rule of thumb is an expansion candle at least 1.5× the recent average range. Wicky, overlapping drift invalidates both the OB and any gap inside it, because it signals two-sided trade, not urgency.
- Liquidity taken first. The highest-grade zones form directly off a sweep of obvious liquidity — equal lows, an old session low, a prior day's extreme. An order block that sweeps sell-side and then displaces has a mechanical reason to hold: the stops it consumed were the fuel.
- Structural consequence. The displacement should actually break something — a Break of Structure (BOS) for continuation or a Change of Character (CHoCH) for reversal. A violent leg that breaks nothing is usually a liquidity raid, not repositioning.
- Freshness and first touch. Both zones decay with every test. The first touch meets the unfilled residual of the original orders; a second test meets less; a third is usually a breach in progress. Treat partially filled FVGs with suspicion too — once the gap is half-consumed, the Consequent Encroachment level has already traded.
- Premium/discount location. A bullish OB or FVG sitting in the premium half of the dealing range is fighting its own math. Demand-side zones belong in discount; supply-side zones belong in premium.
Entry Tactics and Stop Placement for Each Zone
Entering the FVG: Consequent Encroachment
The professional entry inside a fair value gap is Consequent Encroachment (CE) — the exact 50% midpoint of the gap. The reasoning is mechanical: if delivery is rebalancing the inefficiency, the midpoint is the statistical magnet, and in strong trends a half-fill is often all you get. Set the limit at CE rather than the near edge and you avoid chasing; in very strong conditions, laddering half your size at the near edge and half at CE is a reasonable compromise.
Entering the order block: open price and mean threshold
For an order block, ICT teaching centers on two levels. The opening price of the OB candle is the classic entry — for a bullish setup, the open of that last down candle, the level the accumulating party defends. The mean threshold — 50% of the OB's full range — is the deepest tap that still respects the zone. Price trading below the mean threshold on a bullish OB, especially on a closing basis, tells you defense is failing. Many traders drop to a lower timeframe at the tap and require a small CHoCH before executing.
Stop placement: the R:R math is different
Work a concrete case. BTCUSDT 4H sells off, sweeps equal lows at 115,300 with a wick to 115,280, then displaces up through structure. The last down candle — the OB — spans open 115,720 to low 115,280. The leg leaves a 4H FVG from 116,150 to 116,600 higher up. Target: the next draw at 119,000.
The FVG trade: limit at CE 116,375, stop below the gap at 116,080 — roughly 295 points of risk for 2,625 of reward, about 8.9R. The OB trade: limit at the open 115,720, stop below the low at 115,180 — roughly 540 points of risk for 3,280, about 6R. The FVG risks less per unit and gets filled more often; the OB survives a deeper flush that would stop the FVG trader out. Neither is universally better — they price different beliefs about how deep the retracement runs.
Two stop conventions exist for the gap trade, and the table's tight version is only one of them. The aggressive stop sits just beyond the far edge of the FVG, accepting more stop-outs in exchange for outsized R:R. The conservative stop sits beyond the swing low that launched the leg, surviving a full inversion attempt at the cost of roughly doubling the risk. For order blocks there is far less debate: the stop belongs beyond the candle's extreme, with a small buffer for the sweep wick that so often forms the low.
When an FVG Beats an Order Block (and Vice Versa)
Trade the FVG in trend continuation. Strong trends retrace shallowly — often 30–50% of the leg — which means price taps the imbalance inside the leg and never comes close to the origin. Waiting at the OB in a runaway trend mostly means watching the move leave without you. FVGs also suit intraday execution: once higher-timeframe bias is set, the 5m/15m gap inside a kill-zone expansion is the natural trigger.
A continuation case for contrast: EURUSD trends up on 15m through the London kill zone, displacing from 1.0872 to 1.0904 and leaving a gap between 1.0881 and 1.0889. The pullback taps Consequent Encroachment at 1.0885, holds, and extends to 1.0930 — while the order block at the 1.0872 origin never trades at all. In a trending regime that pattern repeats all session; the gap is frequently the only entry the market offers.
Trade the OB at reversals. After a liquidity sweep and CHoCH, the first retracement is typically deep, because the market is rotating rather than trending. That deep pullback routinely trades through the nearest FVG — sometimes inverting it — and finds its footing at the origin. On EURUSD 1H, a sweep of equal lows at 1.0850 followed by a CHoCH will often see the retrace close through the first gap on the way down, then hold the order block to the pip. The deeper zone catches the turn; the shallower one becomes collateral.
Respect the timeframe gradient. Sub-5m FVGs are abundant and noisy; 1m order blocks rarely represent real accumulation. Both zones sharpen from 15m upward, and OBs in particular earn their reliability on 1H, 4H, and daily charts, where a single candle genuinely aggregates institutional flow. The cleanest hybrid: HTF order block defines the area, LTF fair value gap inside it times the entry.
Be honest about the evidence. There is no universal win rate for either zone. Community backtests consistently show that unfiltered touch-and-react tests on both FVGs and OBs land near coin-flip — most gaps eventually fill, but filling is not the edge, reacting is. The same tests show expectancy improving materially once you require displacement, first touch, and higher-timeframe alignment. Treat those as illustrative directions, not promises, and verify on your own market: log 100 qualifying zones of each type on one timeframe with fixed rules, and let the sample pick your weapon.
OB + FVG Confluence: The Strongest Zone
The highest-probability version of this debate is refusing to choose. When displacement is so immediate that it leaves a fair value gap directly off the order block — the gap overlapping or starting within the OB's range — you have both footprints stacked at one price. Entry at the overlap, stop beyond the OB extreme, and the zone carries two independent reasons to hold.
This stacking logic runs through the whole ICT playbook: the Unicorn model is the same idea applied to a breaker with an overlapping gap. In every variant, the imbalance confirms that the block produced genuine urgency, and the block gives the imbalance a defended floor. LiquidityScan's scanners grade this automatically — an order block whose displacement also leaves a fair value gap is flagged at the highest-confluence tier, so the stacked zones surface without manual marking.
So settle the FVG vs order block question as context selection, not tribal preference. Trending market, shallow pullback expected: work the gap at CE. Post-sweep reversal, deep rotation expected: work the block at its open or mean threshold. Both available at one price: that overlap is the trade. The zones came from the same displacement — read the context that created them, and the entry chooses itself.
Frequently Asked Questions
Can an order block contain a fair value gap?
Yes, and it is a strength signal. When the displacement leaving an order block is violent enough, the resulting gap overlaps the OB itself or sits immediately adjacent to it. That overlap is the highest-grade entry zone in the OB/FVG family — one price level carrying both the accumulation footprint and the imbalance.
Do fair value gaps always get filled?
No. Most gaps on liquid markets fill eventually, but many only fill partially — often just to Consequent Encroachment — and some in strong trends never fill at all. More importantly, eventual fill is not an edge: a gap can fill weeks later after your stop is long gone. Trade the reaction at the zone, not the statistic that it fills.
Which is better for scalping: FVG or order block?
The FVG, in most cases. Scalpers work inside an established higher-timeframe direction, where retracements are shallow and speed matters — exactly the FVG's profile. The practical model is hybrid: a 1H or 4H order block defines the area of interest, and the 1m–5m fair value gap that forms inside it provides the tight-stop trigger.
What happens when price closes through an FVG or order block?
The zone flips roles. A fully closed-through fair value gap becomes an inversion FVG (IFVG) and is traded from the opposite side as support or resistance. An order block broken on a closing basis often becomes a breaker block, another opposite-direction zone. Failure does not delete the level — it hands it to the other team.
Related query paths
Build out the comparison from both sides — start with each zone's full definition, then go deeper into the entry mechanics and the confluence models that combine them.
- What Is a Fair Value Gap (FVG)? — the complete FVG definition, anatomy, and formation rules this comparison builds on.
- What Is an Order Block? — the full order block foundation: what the candle represents and why it holds.
- Consequent Encroachment: The 50% FVG Rule — the FVG midpoint entry in depth, including partial-fill behavior.
- FVG Entry Strategy: A Precision Guide for ICT Traders — a complete execution playbook for trading gaps.
- 3 High-Probability Order Block Entry Models — three concrete OB entry frameworks with confirmation rules.
- The ICT Unicorn Model: Breaker + FVG Confluence — the flagship setup built on stacking a block with an overlapping gap.
- What Is a Volume Imbalance? Body Gaps vs Fair Value Gaps — how it connects to volume imbalance.