
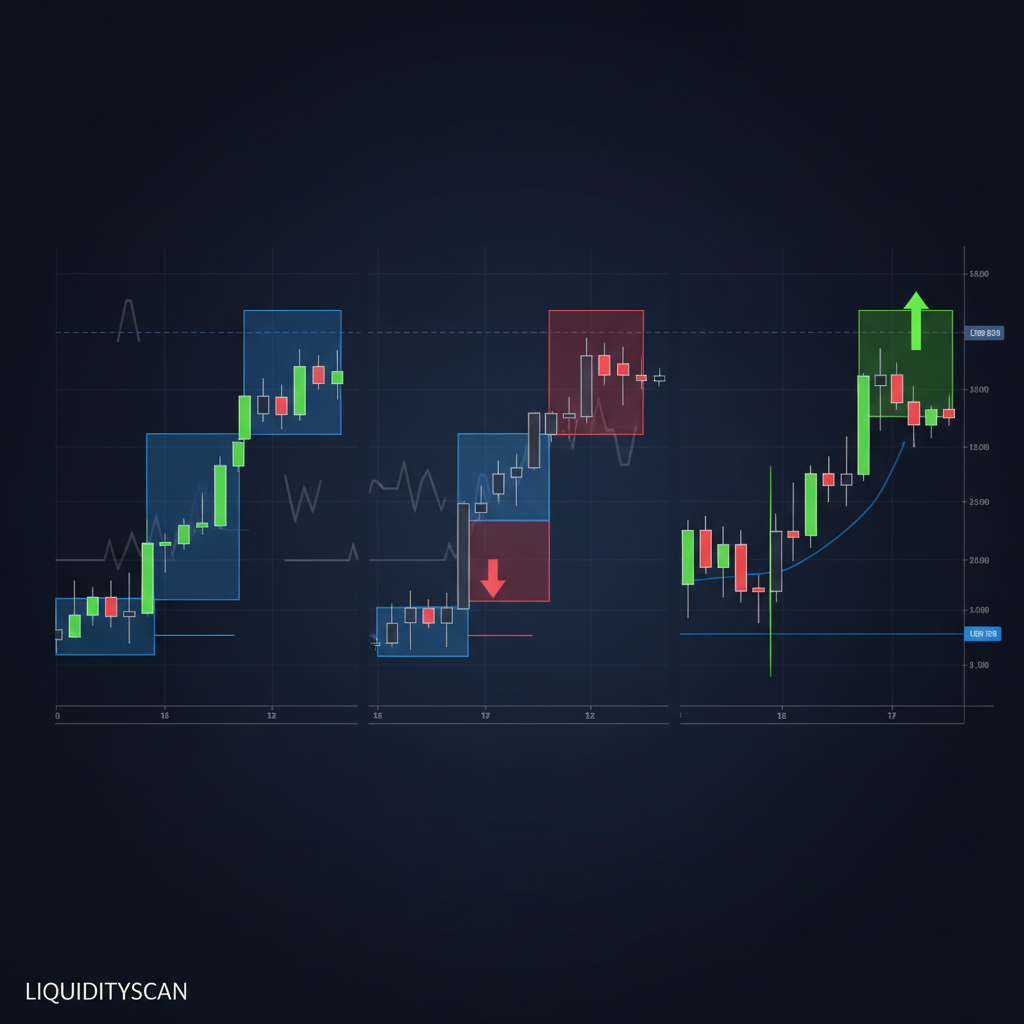
The three highest-probability order block trading strategies are: an order block overlapping a fair value gap, a breaker-block entry after a failed order block flips, and an order block that forms after a liquidity sweep plus displacement. Each has a fixed entry trigger, a mechanical stop, and one confluence that separates it from the dozens of order blocks that never hold. What follows is the exact rule set for each.
An order block on its own is not an edge. It's a candle. The edge comes from why price is likely to respect that candle — engineered liquidity taken, a gap left behind, or a structural flip. These three models each supply that reason.
Model 1: Order Block Overlapping a Fair Value Gap
The strongest entry is where an order block and a fair value gap share the same price band. When a valid OB was created by displacement, that same move almost always leaves an FVG. Where the two zones overlap, you get a tighter, higher-conviction pocket than either gives alone.
What must be true: a down-close candle (for a bullish OB) immediately followed by a displacement leg that leaves a three-candle FVG. The OB's body and the FVG must overlap. Bonus if the overlap sits at the FVG's consequent encroachment — the 50% midpoint.
- Entry: a limit order at the top of the overlap zone, or a confirmation entry on a lower-timeframe CHoCH once price taps it.
- Stop: below the OB low (the origin candle's wick), not below the FVG.
- Confluence: the overlap itself, plus a draw on liquidity above that justifies the trade.
Common mistake: treating any OB near an FVG as overlap. If price only touches the FVG and never reaches the OB body, you weren't in the zone — you front-ran it. Wait for the true overlap.
Model 2: Breaker-Block Entry After a Failed Order Block
A breaker is an order block that failed, and its failure is the signal. When price runs through what should have been a supporting OB, sweeps the low, then reverses back through it, that broken block flips polarity. The old demand becomes supply — or the reverse — and price often retests it before continuing.
This is a reversal model, not a continuation one. You're trading the moment structure changes hands.
- Entry: on the retest of the failed OB after price has closed back through it and broken structure in the new direction.
- Stop: beyond the swing that formed the breaker — past the wick that swept liquidity before the flip.
- Confluence: a clean break of structure confirming the reversal, plus the liquidity sweep that preceded the flip.
Common mistake: entering the breaker before structure confirms. A failed OB isn't a breaker until price closes back through it and breaks the opposing structure. Skip that confirmation and you're catching a knife, not a breaker.
Model 3: Order Block After a Liquidity Sweep and Displacement
The most reliable order block is the one that forms right after price sweeps liquidity and then displaces hard. This is the 2022/2024-model core: raid a pool of stops (equal lows, a session low, a prior day low), then reverse with a decisive displacement candle. The order block is the last opposing candle before that displacement.
The sweep gives you the fuel. The displacement gives you the intent. The OB gives you the entry.
- Entry: at the OB formed immediately before displacement — ideally aligned with its OTE (62–79% retracement) of the displacement leg.
- Stop: below the sweep's low. If that low breaks, the raid failed and the premise is dead.
- Confluence: the liquidity sweep plus the displacement candle plus an FVG inside the leg — three signals stacking.
Common mistake: entering before the sweep completes. Anticipating the raid instead of waiting for the reversal is how traders get run over by the very stop hunt they're trying to trade behind.
Quick comparison
| Model | Type | Entry Trigger | Stop | Key Confluence |
|---|---|---|---|---|
| OB + FVG overlap | Continuation / reversal | Tap into OB/FVG overlap | Below OB low | Overlap at CE + draw on liquidity |
| Breaker block | Reversal | Retest after structure break | Beyond breaker swing | BOS + prior sweep |
| Post-sweep OB | Reversal | OB before displacement | Below sweep low | Sweep + displacement + FVG |
Notice the shared spine: every model demands a reason price should respect the block. Liquidity, a gap, or a structural flip. An order block without one of those is just a candle you drew a box around.
Frequently Asked Questions
Which order block model has the highest win rate?
The post-sweep displacement model tends to produce the cleanest results because it stacks three independent signals — a liquidity raid, displacement, and often an FVG. Fewer setups qualify, but the ones that do carry stronger institutional intent. Backtest each on your instrument before ranking them.
How do I know if an order block is still valid?
An unmitigated order block that produced displacement and hasn't been fully traded through is valid. Once price closes decisively beyond the block's origin, it's either mitigated or flipped into a breaker. Freshness matters — the first tap is usually the highest-probability one.
Should I use a limit order or wait for confirmation?
Limit orders suit the OB+FVG overlap where the zone is tight and defined. Confirmation entries — a lower-timeframe CHoCH inside the zone — suit reversal models where you want proof the raid completed before committing risk.
Related query paths
The natural next questions once these three models are in your toolkit:
- The ICT Unicorn Model: Breaker + FVG Confluence — combine models 1 and 2 into a single high-conviction setup.
- Breaker Block Explained: The ICT Reversal Entry — the full mechanics behind model 2.
- Liquidity Sweep Explained: The ICT Stop Hunt — the raid that fuels model 3.
- Displacement in ICT: Reading Institutional Intent — how to confirm the displacement leg is real.
- OTE Explained: The ICT Optimal Trade Entry Zone — refine your entry inside the post-sweep order block.
- Is Order Block Strategy Profitable? A Data Look