
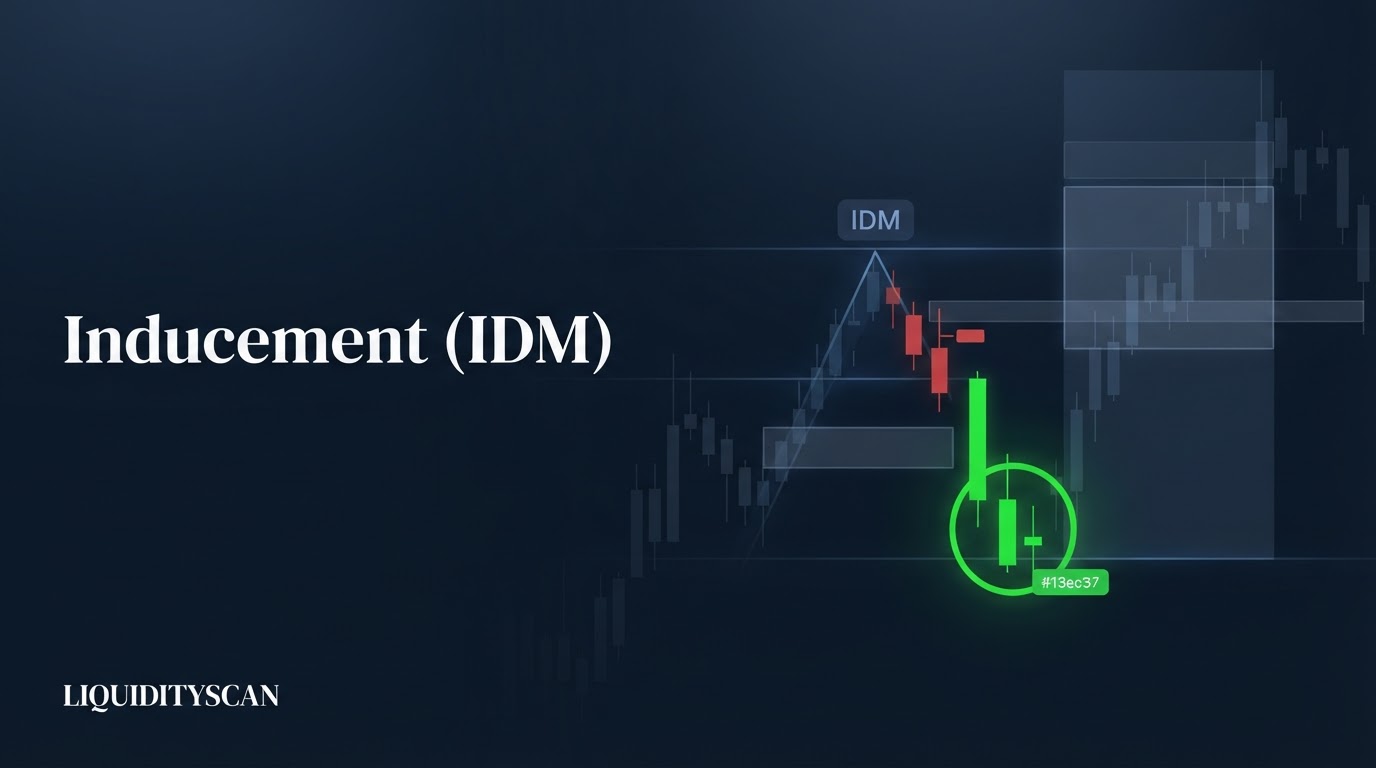
What Is Inducement (IDM) in Smart Money Concepts?
Inducement (IDM) is an engineered pocket of liquidity — usually a minor swing high or low — sitting between current price and the real point of interest. It baits traders into early entries whose stops become the fuel that fills institutional orders at the true level.
In the SMC lexicon, inducement is the trap before the trade. Price rarely travels in a straight line from a structural break to the zone where large orders actually rest. Instead, it prints a shallow, convincing pullback first. That pullback creates a minor high (in a downtrend) or minor low (in an uptrend) that looks like a perfectly valid entry point.
Retail participants sell that minor high with stops just above it, or buy the breakout of it expecting continuation. Both groups place resting orders in the same narrow band.
When price runs through that band, it collects their stops and breakout orders — then continues to the deeper Point of Interest (POI), typically an Order Block or Fair Value Gap (FVG), where the position that actually matters gets filled.
So when traders ask what inducement in SMC really is, the shortest honest answer is: liquidity deliberately left in front of a POI. It is not noise and it is not random. It is the mechanism that lets size enter without moving the market against itself — and once you see it, confusing wicks start making sense.
Why Smart Money Needs Inducement to Fill Orders
Every filled order needs a counterparty. An institution that wants to sell 800 million EURUSD cannot simply hit the bid — visible size that large would collapse the price before a fraction of the position was filled. It needs a dense cluster of buyers to sell into.
The FX market turns over roughly $7.5 trillion per day per the BIS Triennial Survey, yet depth at any single price is thin; execution desks must locate concentrated liquidity.
Stops are that concentration. A stop loss is a resting market order: buy stops above a swing high become market buys the moment price touches them. So a minor high with retail sell entries below it and their buy stops above it is a pre-built package of counterparty flow. Breakout traders add more market buys at the same level.
- Buy stops above an inducement high — forced buying that institutions sell into.
- Sell stops below an inducement low — forced selling that institutions buy from.
- Breakout entries at the level — voluntary flow in the same direction as the stops.
This is why the inducement pocket forms between price and the POI rather than beyond it. Sweeping it accomplishes two things at once: it generates the counterparty volume needed for partial fills, and it delivers price into the deeper zone where the remaining institutional orders rest. The early entrants are not unlucky — they are the product.
Where Inducement Forms: The Classic IDM Sequence
Inducement is not a fixed pattern; it is a position. It forms wherever obvious liquidity sits in front of an unmitigated POI. The most common locations:
- The first pullback high/low after a Break of Structure — the single most reliable IDM location, because everyone trading the breakout anchors their stop to it.
- The minor high directly below a bearish Order Block (or minor low above a bullish one) — the shallow retracement that stops just short of the real zone.
- Trendline touches — each successive tap of a trendline stacks fresh entries with stops on the other side, creating a diagonal string of inducement.
- Obvious "confirmation" levels — equal highs, prior-day highs, round numbers: anywhere a textbook says to enter or place stops.
The bearish version of the sequence plays out in four beats. Mirror everything for longs.
Step 1: Structure high and displacement down
Price sets a swing high, then displaces lower with a Break of Structure (BOS) or Change of Character (CHoCH). The impulsive leg leaves an unmitigated bearish Order Block or FVG near the origin of the move — the true POI.
Step 2: The minor inducement high forms
Price pulls back, but shallowly. It prints a minor high that stalls below the POI, then dips again. This dip convinces early sellers the retracement is finished; their stops now rest just above that minor high.
Step 3: The sweep of IDM
Price rallies through the inducement high — often on a single fast candle or a wick. Buy stops trigger, breakout buyers join, and that combined buying is absorbed by institutional selling. This is a liquidity sweep of the IDM, not a genuine bullish break.
Step 4: Delivery to the true POI, then reversal
The same push carries price into the Order Block or FVG above. Orders fill, displacement resumes downward, and the market moves toward its Draw on Liquidity — usually the sell-side resting below the prior low. Traders who entered at the POI after the IDM was taken are positioned with the institutional flow, not against it.
How to Identify Inducement on a Chart
Identification is a filtering exercise: you are looking for the most obvious liquidity between current price and a valid POI. Work through this checklist top-down:
- Anchor the POI first. Mark the unmitigated Order Block, FVG, or premium/discount zone that price should reach. No POI, no inducement — a minor high with nothing behind it is just a minor high.
- Find the most recent minor swing in front of it. In a downtrend, the last minor high below the bearish POI is your IDM candidate. It is usually the first pullback after the BOS.
- Ask the retail question. Would a structure trader enter off this level and put a stop behind it? If the level screams "confirmation entry," it is holding liquidity by definition.
- Check proximity. Valid IDM sits close enough to the POI that one impulse can sweep it and tap the zone. If sweeping the level would still leave price far from the POI, it is more likely an intermediate target than the inducement.
- Confirm it is untaken. Once a level has been swept, its liquidity is spent. IDM is only meaningful while the stops behind it are still resting there.
On the chart, the visual signature is a shallow, clean, single-legged pullback that looks almost too tidy — a lower high in a downtrend that every trendline and structure tool happily validates. The tidier and more visible the level, the more orders it accumulates, and the more attractive it is as fuel.
Liquidity mapping tools, including LiquidityScan's sweep and order block scanners, can flag these engineered pools automatically across timeframes, but the manual skill matters: IDM is defined by context, not by shape.
The "IDM First" Rule: Inducement as a Trade Filter
The most practical use of inducement is negative: if the IDM has not been taken, the POI is not ready. Price tapping your Order Block without first sweeping the inducement in front of it is suspicious.
The engineered liquidity is still sitting there untouched, which means the move into your zone lacked its fuel — and the zone itself is more likely to fail or get run through. Treating IDM as a precondition converts it from a curiosity into a filter with teeth:
- Rule 1 — no sweep, no trade. Only consider POI entries after the minor high/low in front of the zone has been violated. The sweep is the arming switch.
- Rule 2 — sweep plus tap, then confirm lower. Once IDM is taken and the POI is tapped, drop to a lower timeframe and wait for a CHoCH or displacement back in your direction before entering. The sweep sets the stage; the shift confirms it.
- Rule 3 — stop beyond the POI, never beyond the IDM. Your invalidation is the zone, not the swept level. A stop parked back at the inducement high is exactly the stop the next sweep will collect.
- Rule 4 — invalidate on a body close through the POI. Wicks into the zone are fills; full-bodied closes beyond it mean the level was consumed, and the IDM logic no longer protects the trade.
- Rule 5 — respect timeframe hierarchy. The IDM for a 4H Order Block is a 4H-visible swing, not a 5-minute wiggle. Marking micro-swings as inducement for macro zones is how the concept degenerates into hindsight art.
The rule also disciplines patience. Many losing "SMC" trades are not wrong zones — they are right zones entered before the inducement was collected, which means entered alongside the liquidity that was about to be harvested.
Worked Example: EURUSD Inducement Short With Levels
Consider a 4H EURUSD downtrend. A corrective rally into 1.0950 prints a lower high, then price displaces down to 1.0820, breaking the prior 1.0860 swing low — a clean bearish BOS. The impulsive leg leaves an unmitigated bearish Order Block at 1.0885–1.0905, the last up-candle before the drop. That zone is the POI.
Price pulls back from 1.0820 and stalls at 1.0868 — a minor high sitting 17 pips below the Order Block's lower edge — then dips to 1.0838. That 1.0868 high is the inducement: shallow, clean, and obvious. Sellers who shorted the pullback have buy stops clustered at 1.0870–1.0875; breakout traders have buy orders resting just above the same level.
- The sweep: a single 4H candle rallies from 1.0838 through 1.0868, triggering the stop cluster.
- The delivery: the same impulse carries into 1.0890, tapping the lower third of the Order Block.
- The confirmation: on the 15-minute chart, price prints a CHoCH — breaking a 15m swing low at 1.0881 with displacement — after the tap.
- The trade: short at 1.0885 on the retest, stop at 1.0912 (above the full zone, 27 pips), first target the 1.0820 low, final target the sell-side liquidity under 1.0790. That is roughly 2.4R to the first objective and 3.5R to the second.
Notice what the IDM-first rule prevented: an early short at the 1.0868 minor high would have been stopped in the sweep — that trader financed the fill. The same directional idea, entered one step later in the sequence, put the stop behind institutional orders instead of in front of them. Same bias, opposite outcome, and the only difference was respecting the inducement.
Common Mistakes When Trading Inducement
IDM is one of the most over-applied labels in SMC. These are the failure modes that show up in most journals:
- Calling every minor high inducement. IDM only exists relative to an unmitigated POI behind it. Without that anchor, you are just narrating random swings after the fact.
- Trading the sweep itself. Fading the exact moment IDM is taken, before any tap of the POI or lower-timeframe shift, is guessing. The sweep is a precondition, not an entry signal.
- Ignoring higher-timeframe bias. An IDM sweep into a 1H Order Block means little when the daily chart is displacing the other way. Counter-trend inducement setups fail disproportionately because the "true POI" gets consumed by the larger flow.
- Forgetting spent liquidity. A level swept yesterday holds no stops today. Re-marking already-run inducement is trading a memory.
- Stacking IDM inside IDM. On low timeframes every pullback has a sub-pullback. If you keep zooming until something qualifies, the concept has stopped filtering anything.
A simple audit: review your last 20 SMC entries and mark whether the inducement in front of each POI had been swept before you entered. Losers tend to cluster heavily in the "entered before the sweep" column — which is the entire argument for treating inducement in SMC as a mandatory checkpoint rather than optional decoration.
Frequently Asked Questions
Is inducement the same as a liquidity sweep?
No. Inducement is the engineered pool of resting orders — the location and the bait. A liquidity sweep is the action of running through it. Every taken IDM involves a sweep, but sweeps also occur at major external levels like old highs and lows, where the purpose is often terminal reversal rather than delivery to a nearby POI.
What timeframes work best for spotting IDM?
Mark inducement on the timeframe that defines your POI — typically 1H or 4H — and confirm entries one or two timeframes lower (5m–15m). The IDM must be a visible swing on the POI's own timeframe. Sub-minute wiggles labeled as inducement for 4H zones are noise, and treating them as signal is the fastest way to over-trade the concept.
Does every order block need inducement in front of it?
Not every zone has clean IDM, but zones without it deserve less trust. A pullback that leaves no obvious liquidity in front of the POI gives institutions less reason to drive price there, so the tap is likelier to be incidental. Many SMC traders grade setups: POI with fresh inducement swept on arrival ranks highest; POI reached without any sweep ranks lowest.
Can an inducement setup fail even after the sweep?
Yes. The sweep arms the setup; it guarantees nothing. Failures concentrate around news releases, counter-trend contexts, and zones that have already been partially mitigated. That is why the entry trigger is a lower-timeframe shift after the POI tap, the stop lives beyond the zone, and a body close through the POI ends the idea immediately.
Related query paths
Inducement sits inside a web of SMC liquidity concepts. These are the logical next reads, ordered from foundations to application:
- What Are Smart Money Concepts? A Trader's Guide to Order Flow — the full SMC framework that inducement operates within.
- What Is a Liquidity Sweep? — the mechanics of the run that takes the IDM out.
- Inducement vs Liquidity Sweep: A Trader's Guide to SMC Setups — a side-by-side comparison of the two concepts and when each defines the trade.
- What Is an Order Block? — the POI that inducement most often guards.
- Equal Highs & Equal Lows (EQH/EQL): Engineered Liquidity — the other classic form of engineered liquidity beyond single minor swings.
- Internal vs External Liquidity: An SMC Trader's Guide — how IDM (internal) relates to the major external pools price ultimately draws toward.
- What Is Trendline Liquidity and Why It Gets Swept — how it connects to trendline liquidity.