
OTE vs Order Block: What Is the Actual Difference?
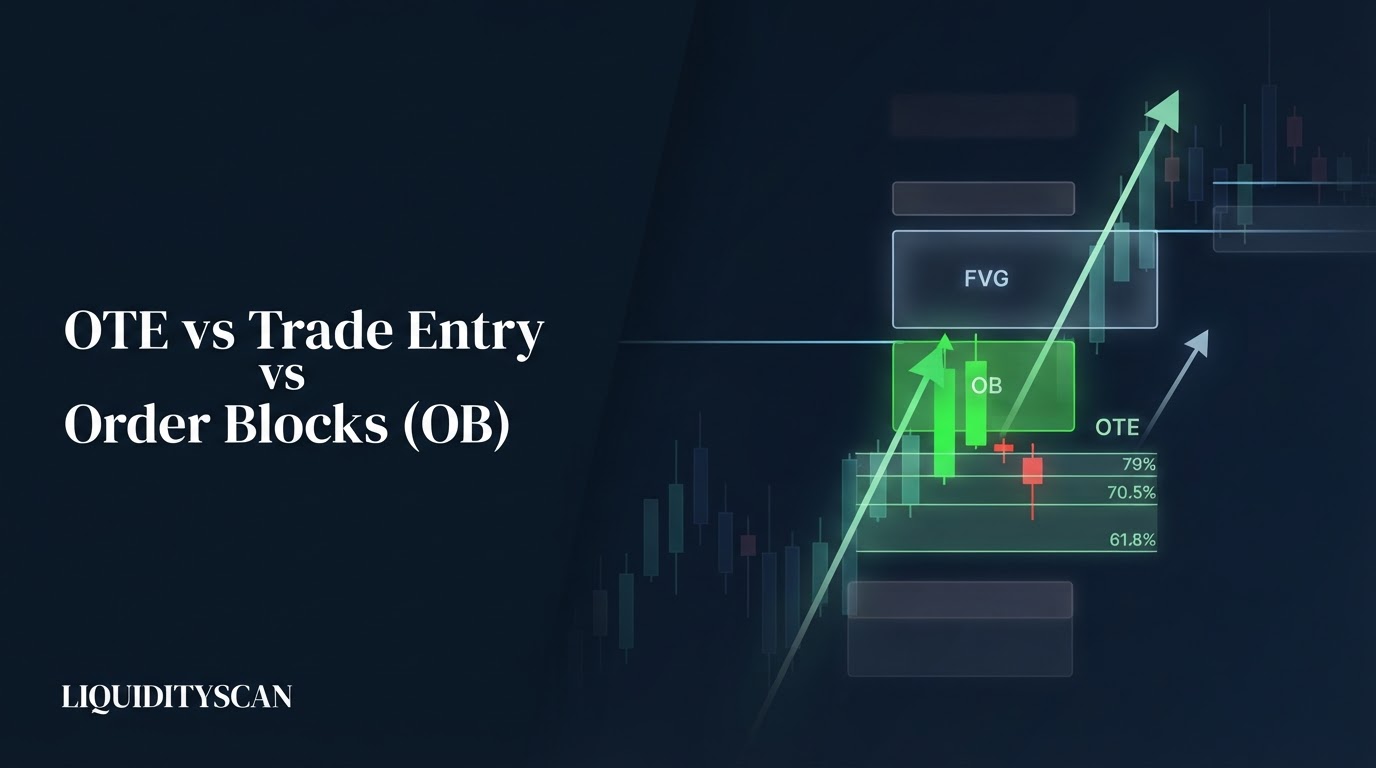
OTE (Optimal Trade Entry) is a retracement band — the 62–79% fib zone of the price leg, derived from the leg's geometry. An Order Block is a candle zone — the last opposing candle before displacement — derived from delivery evidence. One is math; the other is footprint.
That distinction sounds academic until you have a limit order resting. The OTE band exists on every measurable leg, whether or not institutions did anything interesting there. An order block only exists where price actually launched from — but it can sit anywhere on the leg: shallow, deep, or exactly inside the OTE band.
So the OTE vs order block question is really two questions. First, which zone is price more likely to respect? Second, which entry price gives you the better combination of fill probability, stop distance, and R multiple? The answers differ by context, and this guide works through both with concrete numbers.
| Dimension | OTE (Optimal Trade Entry) | Order Block |
|---|---|---|
| Derived from | Price geometry — fib retracement of the leg | Delivery evidence — last opposing candle before displacement |
| Shape | Band: 62% to 79% of the leg, sweet spot 70.5% | Zone: candle open to low/high, mean threshold at 50% |
| Exists when | Any impulse leg with clear swing points | Only where displacement left an origin candle |
| Entry style | Level-based limit (typically 0.705) | Zone-based: block open, or deeper at mean threshold |
| Stop anchor | Below/above the swing that started the leg | Below/above the block itself |
| Typical stop distance | Wider — swing is beyond the 100% retrace | Tighter — block low is usually inside the leg |
| Typical R:R | Moderate, higher fill probability | Higher R, more sweep/violation risk |
| Best context | Trending continuation pullbacks | Post-sweep reversals, precision POI entries |
Two Sources of Truth: Geometry vs Delivery Evidence
OTE is computed, not observed. Anchor a fib from the swing low to the swing high of an impulsive leg (after a Break of Structure (BOS) confirms the leg matters), and the 62–79% retracement band appears automatically. ICT's refinement adds the 70.5% midpoint as the sweet-spot limit level.
Nothing about OTE tells you why price should turn there — only that deep-but-not-full retracements are where trend continuation entries historically cluster.
The order block is the opposite: pure observation. It marks the last bearish candle before a bullish displacement (or the last bullish candle before a bearish one) — the zone where resting institutional orders were filled hard enough to launch the move.
Its validity depends on what the displacement did: did it break structure, take out buy-side or sell-side liquidity, leave a Fair Value Gap (FVG) behind? A block with none of that evidence is just a red candle.
Because the two zones come from independent inputs — one from the leg's proportions, one from a specific candle's location — they can agree or disagree on any given leg. That relationship is the whole game.
When OTE and the Order Block Overlap: The Confluence Case
The highest-probability configuration is when the order block sits inside the OTE band. This is not a coincidence you get lucky with; it happens naturally in well-formed legs, for a mechanical reason.
A clean institutional leg starts near the bottom of the eventual range: accumulation, a final push down into liquidity, then displacement. The origin candle — the order block — therefore forms in the lowest 20–35% of the leg that follows. When price later retraces 62–79%, it re-enters exactly that region. Deep retracement and origin zone converge because the leg was built from that area.
When the two align, you get compounding logic rather than duplicate signals: geometry says price is in the discount extreme of the leg, and evidence says unfilled institutional interest sits at that exact price. Add a confirming premium and discount read (the zone below the leg's 50% equilibrium for longs) and you have three independent frameworks pointing at one price window.
Multi-timeframe scanners — LiquidityScan's OB+ engine included — grade blocks higher when this nesting is present, because a block floating alone in the middle of a leg tends to fail more often than one wrapped in an OTE band.
When They Diverge: Shallow Blocks and Deep Blocks
Divergence comes in two flavors, and each carries a distinct risk.
Order block above the OTE band (shallow block)
If the displacement launched from mid-leg — say the block sits at a 40–55% retracement — entering at the block means paying a premium price relative to the leg. The risk is not that the block is fake; it's that price taps it, reacts weakly, then continues deeper into the 62–79% band for the real turn.
You end up stopped out or sitting through heavy drawdown while the OTE entry gets the better fill you skipped. Shallow blocks are continuation tools in strong trends, not standalone reversal entries.
Order block below the OTE band (deep block)
If the block sits at 85–95% of the leg — common when the displacement started with a violent sweep of the low — the opposite problem appears. Price often completes its retracement inside the OTE band and turns without ever tagging the block. A limit resting at the block simply never fills, and you watch the move leave.
Traders who insist on the "better" deep price systematically miss well-formed continuations. When the block is deeper than 79%, the OTE limit at 0.705 is the fill you'll actually receive.
Fill Mechanics: How Each Entry Actually Executes
The execution style differs more than most comparisons admit.
OTE is level-based. The standard play is a single limit order at the 70.5% level. Any touch fills it — including a fast wick that spends two seconds there. That's the strength (high fill probability inside a real pullback) and the weakness (you get filled on the wicks that keep going to 85% too).
Some traders ladder: one-third at 62%, one-third at 70.5%, one-third at 79%, averaging inside the band instead of betting on one line.
The order block is zone-based, with two canonical entry prices. The conservative fill is the block's open (the proximal edge) — first price touched, highest fill probability within the zone, worst price. The aggressive fill is the mean threshold — the 50% midpoint of the block — a meaningfully better price that fills less often, because respected blocks frequently reject from their upper half.
Choosing between them is itself a fill-probability vs R:R trade-off nested inside the larger OTE vs order block decision.
Stops and the R:R math
Stop logic is where the R difference comes from. The OTE stop belongs beyond the swing that anchors the fib — below the swing low for longs. That is by definition past the 100% retracement, so the stop is structurally wide: from a 70.5% entry, roughly 30% of the leg plus buffer. The compensation is resilience — a wick to 85% or 92% doesn't touch you.
The order block stop sits just beyond the block itself. Because the block is usually inside the leg, this stop is tighter, sometimes dramatically so from a mean-threshold entry. Tighter stop means higher R on the same target — and higher vulnerability. A single stop-run wick through the block low takes you out before the real move, a failure mode the OTE stop survives.
There is no free lunch here: the order block converts stop width into R, and pays for it in sweep risk.
Worked Example: Both Entries Priced on One BTCUSDT Leg
Take a 1H BTCUSDT sequence. Price bases at 60,000, sweeps a prior low, then displaces to 63,000, breaking structure above 62,400. Leg size: 3,000 points.
- OTE band: 62% = 61,140; 70.5% = 60,885; 79% = 60,630.
- Order block: last bearish 1H candle before displacement — open 60,700, low 60,050. Mean threshold = 60,375. Note the block's open (60,700) sits inside the OTE band: the confluence case.
- Target: external liquidity at the equal highs above the leg, 63,600.
Price retraces and wicks down to 60,610 — a 79.7% retracement that clips the top of the block — then rallies to 63,600. Now price each entry:
- OTE limit at 60,885, stop 59,900 (below the 60,000 swing plus buffer). Risk = 985. Reward = 2,715. ≈2.8R, filled.
- Order block open at 60,700, stop 59,950 (below the block low plus buffer). Risk = 750. Reward = 2,900. ≈3.9R, filled — the wick reached 60,610.
- Mean threshold at 60,375, same stop. Risk = 425. Reward = 3,225. ≈7.6R — never filled. Price turned 235 points above it.
One sequence, three honest outcomes. The block-open entry beat OTE by about 1.1R because its stop hides behind the block rather than the swing. The mean-threshold order looked best on paper and earned nothing. And had the retracement stopped at 65% — entirely normal — only the OTE ladder's upper fills would have participated at all.
Run twenty of your own charts this way before deciding which fill profile suits your win-rate tolerance; the ranking is regime-dependent, not fixed.
Decision Framework: Which Entry Wins in Which Context
Context picks the tool.
- Trending continuation: OTE is the reliable default. In an established trend, pullbacks are orderly and the 62–79% band gets respected repeatedly, even when no clean block exists on the leg. Forcing an order block entry here often means taking a mediocre mid-leg candle just to have a zone.
- Post-sweep reversal: the order block is more precise. After a liquidity sweep and displacement through structure, the origin block is the highest-information price on the chart, and there may not yet be a completed leg to anchor a meaningful fib on.
- Both align (block inside the band): take the order block entry with OTE as validation — enter at the block's open, stop behind the block, and treat the band as confirmation that the block sits at a discount. This captures the tighter stop and higher R while the geometry filters out shallow-block traps.
- Only one is present: prefer whichever matches the context above, and skip the trade when neither the trend supports OTE nor the evidence supports a block. No framework obligates an entry.
The two mistakes that break this comparison
First, forcing OTE onto a structureless leg. A fib needs a genuine impulse with defined swing points and a structure break; stretched across choppy, overlapping candles, the 62–79% band is noise dressed as precision.
Second, taking any order block regardless of retracement depth. A block at 45% of the leg is a premium-priced entry pretending to be a discount; retracement depth is the cheapest filter you can apply to a block, and the first thing to check when a block entry loses.
Settled honestly, OTE vs order block is not a rivalry — it's a fill-probability dial. OTE buys certainty of participation with a wider stop; the order block buys R with sweep risk; and the overlap of the two is where the leg's geometry and its evidence tell the same story.
Frequently Asked Questions
Can I use OTE and an order block in the same trade?
Yes — that's the ideal case. When the block sits inside the 62–79% band, enter at the block's open with your stop behind the block, and treat the OTE band as validation of discount pricing. You keep the tighter block stop while the geometry confirms you're not buying a shallow, mid-leg zone.
What fib levels define the OTE zone exactly?
The OTE zone spans the 61.8% to 79% retracement of the impulse leg, anchored from the swing that started it to the swing that ended it. ICT highlights 70.5% as the sweet-spot entry level — the midpoint of the band — with 79% acting as the deepest retracement that still favors continuation.
Should my limit order rest at the order block's open or its 50% level?
The open fills far more often but at the worst price in the zone; the 50% mean threshold roughly halves your stop distance and can double your R, but respected blocks frequently reject before reaching it. A practical compromise is splitting the position: half at the open, half at the mean threshold.
Why did price reverse in the OTE zone without touching my order block?
Because the block sat deeper than the 79% level. Well-formed pullbacks often complete inside the 62–79% band, so a block at 85–95% of the leg is simply below where the retracement ends. When a block is deeper than the OTE band, expect the band to fill first and price the trade off the 0.705 level instead.
Related query paths
If this comparison sharpened the question, these are the natural next reads — from each concept's foundation to the entry models that operationalize them.
- OTE Explained: The ICT Optimal Trade Entry Zone — the full anatomy of the 62–79% band and how to anchor it correctly.
- What Is an Order Block? — the definition, formation mechanics, and validity rules of the other half of this comparison.
- Equilibrium vs OTE: The Right ICT Entry Level — how the 50% equilibrium line and the OTE band divide entry duty.
- How to Draw Premium & Discount Zones (ICT Guide) — the dealing-range context that tells you whether any entry is cheap or expensive.
- 3 High-Probability Order Block Entry Models — concrete execution templates once you've chosen the block side of the dial.
- Best Timeframe for Order Block Trading (ICT Guide) — which timeframes produce blocks worth resting orders at.
- Does the OTE Strategy Actually Work? A Data-Driven Win-Rate Look — how it connects to does ote work.
- FVG vs order block: which entry zone should you trade? — Compare FVG and order block entries alongside OTE fills and stop placement.