
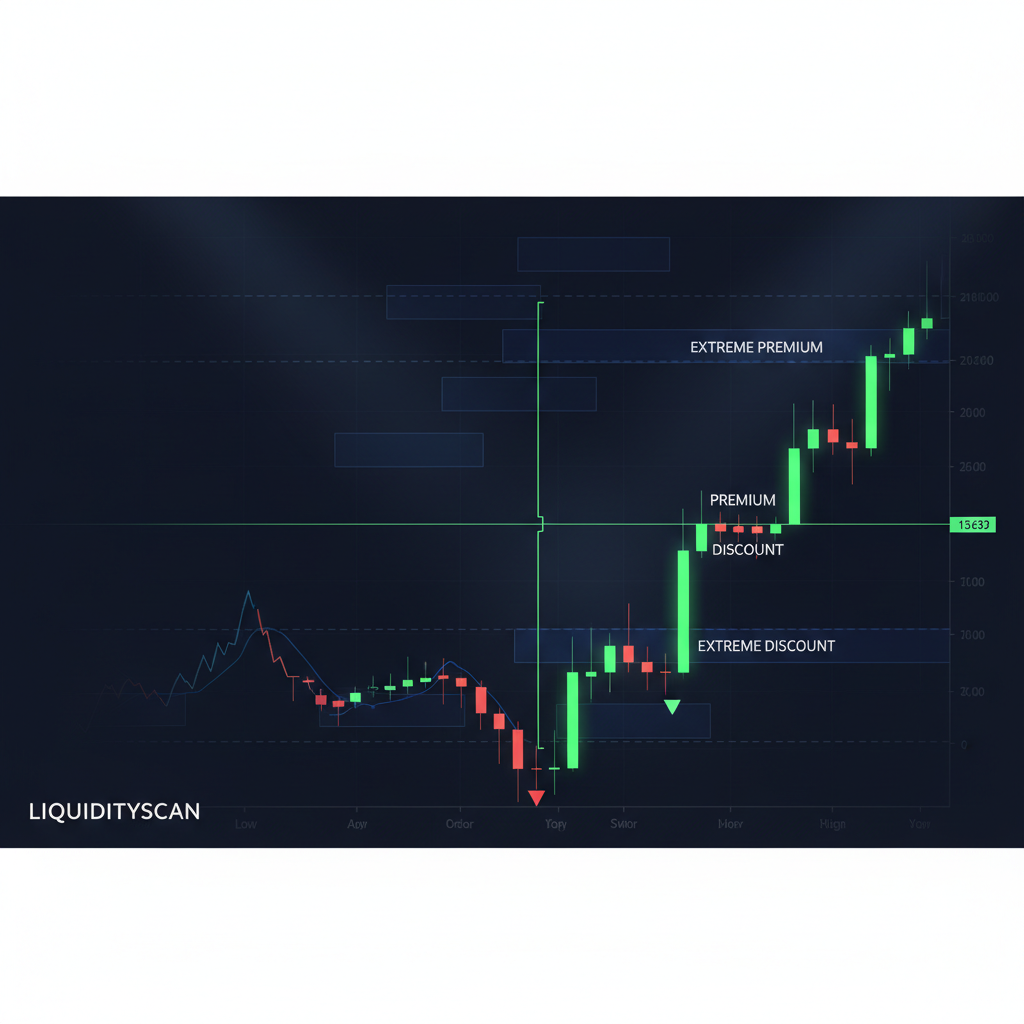
The four trading zones are premium (the upper half of a dealing range), discount (the lower half), equilibrium (the 50% line dividing the two), and the extreme premium/discount sub-zones near the range boundaries where institutional entries cluster. They are not indicators. They are relative price locations measured against a defined swing high and swing low, and they answer one question: is price expensive or cheap right now?
Get the range wrong and every zone is wrong. Get it right and you have a map that tells you where you're permitted to buy, where you're permitted to sell, and where to stand aside.
The dealing range comes first
Everything depends on a defined dealing range. A dealing range is the span between a confirmed swing high and a confirmed swing low — the two points price is currently oscillating between. Anchor a Fibonacci tool from the low to the high (for a bullish read) or high to low (for a bearish read), and the zones fall out of the levels automatically.
Without a range, "premium" and "discount" mean nothing. The same price can sit in discount on the 4H range and premium on the 15M range, which is exactly why timeframe alignment matters.
The four zones defined
Each zone maps to a fixed portion of the range. The extremes are sub-zones inside premium and discount, not a separate fifth region.
| Zone | Range location | What it tells you |
|---|---|---|
| Premium | 50%–100% (upper half) | Price is expensive — favor selling |
| Equilibrium | The 50% line | Fair value — no edge, decision point |
| Discount | 0%–50% (lower half) | Price is cheap — favor buying |
| Extremes | ~79%–100% and 0%–~21% | Deepest premium/discount — highest-conviction entries |
Premium
Premium is the upper half of the range, above equilibrium. Price here is expensive relative to the range, so smart money is more likely to distribute and sell. You hunt short entries in premium, not longs.
Discount
Discount is the lower half, below equilibrium. Price is cheap, so accumulation and buying pressure are favored. Longs belong here.
Equilibrium
Equilibrium is the 50% midpoint — the consequent encroachment of the whole range. It offers no directional edge. Price at equilibrium is "fair," which is precisely why chasing entries there so often ends in a stop-out. Treat it as a divider, not a signal.
The extremes
The extreme premium (roughly 79%–100%) and extreme discount (roughly 0%–21%) are where the strongest reactions tend to originate. These deep zones overlap the OTE window and the tails of the range where liquidity rests above old highs and below old lows. An order block or FVG sitting inside an extreme carries more weight than the same array near equilibrium.
Key points
- The four zones are relative — they exist only against a defined swing high and swing low.
- Premium = sell territory; discount = buy territory. Equilibrium is the dividing line.
- Buying in premium or selling in discount is entering against the range's discount/premium logic — usually a losing bias.
- The extremes (deep premium and deep discount) frame the highest-conviction entries and overlap the OTE zone.
- A POI's location inside the range matters as much as the POI itself.
How to identify the zones
Mark them in the same order every time:
- Identify the current dealing range: the most relevant confirmed swing high and swing low on your working timeframe.
- Draw the equilibrium line at exactly 50% of that range. This single line separates premium from discount.
- Anchor a Fibonacci retracement across the range so the extremes surface (the ~79% and ~21% bands).
- Confirm directional bias from higher timeframe structure and liquidity, then filter: longs only in discount, shorts only in premium.
- Wait for a POI — order block, FVG, or breaker — that sits inside the correct zone, ideally in an extreme.
When each zone matters for buy vs sell
For a buy, you want price trading in discount, preferably extreme discount, with bullish higher-timeframe bias and a liquidity sweep below the range low. For a sell, you want premium — preferably extreme premium — with bearish bias and liquidity taken above the range high. If price sits at equilibrium, you have no location edge; wait for it to reach a zone that agrees with your bias before committing risk.
Related query paths
Once the four zones make sense, these are the natural next steps.
- PD Array ICT Explained: A Trader's Guide to Premium & Discount — how specific arrays populate each zone.
- OTE Explained: The ICT Optimal Trade Entry Zone — the precise entry band inside the extremes.
- Consequent Encroachment: The 50% FVG Rule — why the midpoint governs both ranges and gaps.
- ICT Top-Down Analysis: Multi-Timeframe Alignment — pick the right range so your zones are valid.
- The ICT Market Structure Framework: Complete Guide — define the swings that anchor every zone.
- How to Draw Premium & Discount Zones (ICT Guide)
- How to Draw a Dealing Range in ICT (Correctly)
- What Is the ICT Trading Strategy? A Methodology Guide