
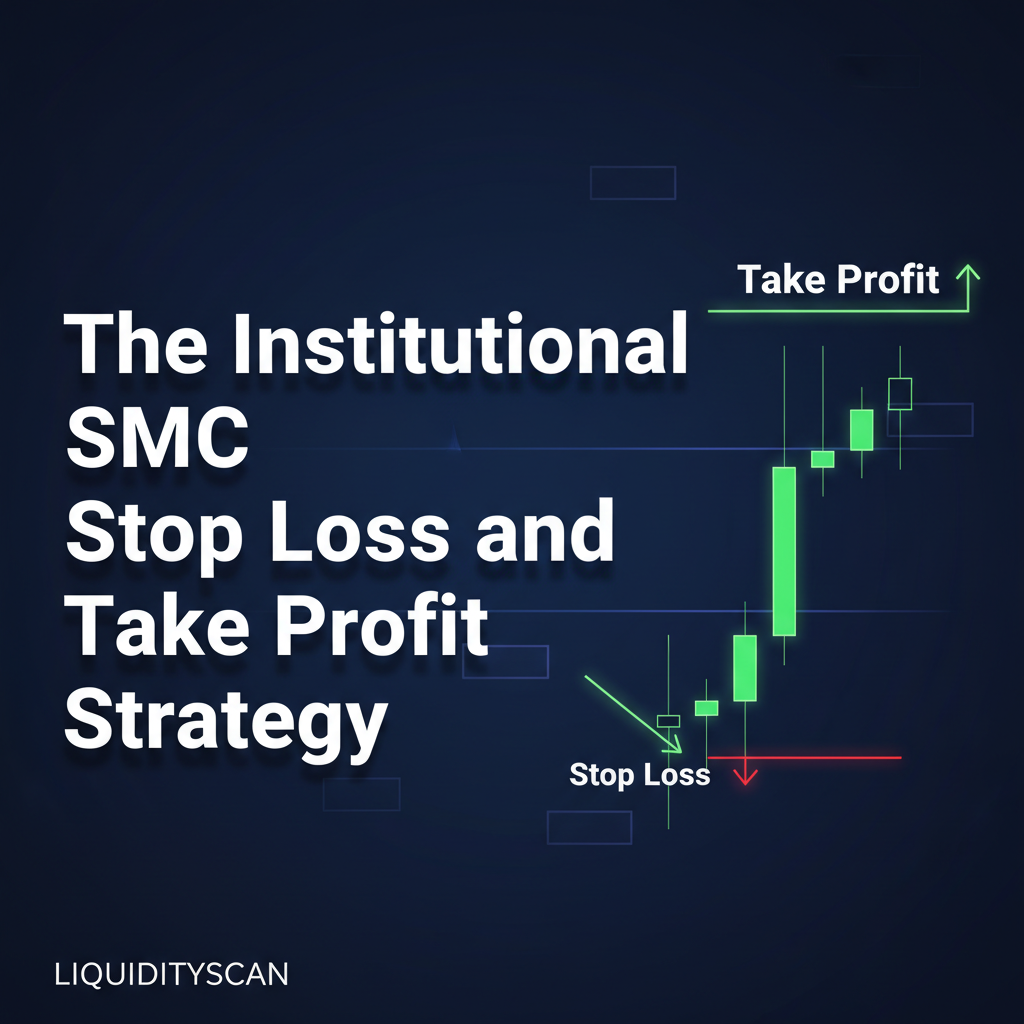
Forget arbitrary pip counts. A professional SMC stop loss take profit strategy is about logic, not luck. Your stop is your invalidation point, and your take profit is a dynamic process of scaling out at predefined liquidity levels.
Stop Loss Placement: The Art of Invalidation
A stop loss isn't a pain threshold. It's an analytical boundary. If price reaches it, the reason you took the trade no longer exists, and you want out. That distinction is the whole game in institutional risk management. We don't size stops around how much we're comfortable losing. We put them where the market would have to prove our read wrong.
For an SMC trader, that means anchoring the stop to a structure that actually validates your idea. Two spots do the job:
- Behind the Institutional Candle of an Order Block: The safest home for a stop is behind the full range of the candle that built your point of interest. Buying from a bullish order block? The stop goes below its low. Not at the low, a few pips or ticks under it to absorb spread and a little excess. If the move out of that block was real, price has no business trading back through its origin. (If you're still fuzzy on what qualifies, start with what an order block actually is, then check it against the core validation rule.)
- Behind a Cleared Liquidity Pool: Once a sweep has run the stops it was after, the market has already collected what it came for. Parking your stop behind the absolute high or low of that sweep is a high-probability play. The algorithm engineered that level for liquidity and rarely revisits ground it has already drained. If the mechanics feel abstract, how a liquidity sweep works spells out the sequence.
I've lost count of the traders I've watched on ES futures tuck a stop right at the 5-minute swing low, only to get picked off on the New York open. Those obvious levels are the target, not a refuge. Place your stop where the engineering is already finished. The forex side runs on the same logic, which is the whole argument behind the idea that the market is engineered, not random.
A Dynamic Take Profit Strategy: Paying Yourself Systematically
The "set a 1:3 and walk away" model is a retail invention. Institutional order flow doesn't honor fixed ratios. It moves from one pool of liquidity to the next. A professional exit is dynamic, built around structure, and designed to bank gains while still leaving room for the outsized runs.
So you scale out. You don't dump the whole position at one price.
Partial 1 (TP1): The First Point of Trouble
Your first target is the first meaningful opposing array in the path of the trade. A bearish order block, a breaker, or a fat fair value gap. If you're not sure which structure you're staring at, the difference between a mitigation block and a breaker is worth nailing down, because they behave differently as targets. This is where price is most likely to stall or turn. Taking 30-50% off here does two jobs at once: it pays you for the read and cuts the risk on what's left.
Moving to Breakeven
The moment TP1 fills, the stop slides to your entry. The trade is now free. That change in risk profile does something to your head, too. With nothing left to lose, you can manage the rest with a clear mind and let the move breathe instead of snatching at it.
Final Target: External Range Liquidity
The remainder, the runner, aims at the major draw on liquidity. That's the higher timeframe swing high or low that framed the whole idea in the first place. Solid work on market structure should make that level obvious, and the same framework tells you when a move is just continuation versus a genuine shift. This is how you capture the 1:5, 1:10, even 1:20+ trades that actually move the equity curve.
Spotting these opposing structures live, across a dozen pairs, is hard. That's exactly why we built the Core Layer in LiquidityScan, to map every FVG and order block on the chart automatically so your potential TP levels are sitting there in plain sight.
Case Study: Executing the Strategy on GBP/USD
Let's put it on a real chart with GBP/USD. Working a checklist strips the emotion out.
Higher Timeframe Context (4H): Price is trading at a clear discount relative to the weekly range, per the premium and discount framework. We mark a bullish 4H order block that formed right after price took out prior weekly lows near 1.25500. The draw is plain: a fat pool of buy-side stops resting above a clean swing high at 1.27800. That's our external range target.
Lower Timeframe Entry (15M): As price trades into the 4H block during the London Kill Zone, a textbook entry sets up. Price sweeps the Asian session low, then snaps higher on a sharp displacement. That prints a Change in Character (CHoCH) and leaves a clean 15M fair value gap between 1.25650 and 1.25700.
Here's the execution plan, level by level:
- Entry: A limit buy at 1.25700, the high of the 15M FVG.
- Stop Loss: 1.25480. That sits below the low of the liquidity sweep (1.25500) and the wick of the 4H order block. Hard invalidation. Total risk: 22 pips.
- Take Profit 1: The first target is an opposing 15M bearish order block at 1.26200. A 50-pip gain, roughly 2.2R. We close 50% here.
- Risk Management: The instant TP1 fills, the stop on the remaining half moves to entry at 1.25700. The trade is now entirely risk-free.
- Take Profit 2 (Final): The runner targets the 4H external range liquidity at 1.27800. If it gets there, that second half adds another 210 pips, and the blended R:R on the whole trade ends up exceptionally high.
Common Mistakes to Avoid
A clean framework still gets sabotaged at the execution stage. These are the slip-ups I see most.
Trailing the Stop Too Tightly: Jumping to breakeven too soon, or riding an aggressive trail, is the fastest way to get shaken out on a minor pullback right before the real expansion. Wait for a confirmed partial to fill, or a clean structure shift in your favor, before you derisk.
Ignoring the Higher Timeframe Narrative: A flawless 5M entry is worthless if you're buying straight into a Daily bearish order block. Your targets have to respect the higher timeframe power structure. External range liquidity on the 1H is just internal liquidity on the Daily. Context decides everything.
Marrying a Fixed R:R: Demanding a minimum 1:3 on every trade is an arbitrary rule that ignores what the market is actually offering. Some of the best setups are quick 1:2 grabs to clear internal range liquidity. Others hand you a 1:10+ run to an external high. Let structure set the target, not a dogma. Logging both kinds in a disciplined trading journal is how you eventually see which one your edge really lives in.